

Learning Objectives
After completing this tutorial, you will be able to configure Azure pipelines to build and package a .Net Core application. Before diving into the implementation part, let us have a brief overview of Azure Pipelines.
Azure Pipelines
Azure pipelines is a managed cloud service that can build, test and deploy your application on cloud and on-premises. Using Azure pipelines will help you focus on DevOps part without getting tied up in infrastructure, availability and scalability issues of CI/CD.
Continuous Integration
Continuous Integration (CI) is the process of automating build and testing of code every time a developer commits a code to version control repository. CI encourages developers to share their code and unit tests by merging their changes into a shared version control repository after every task. The output of Continuous Integration pipeline is build artifact. It is a compiled unit that can be tested or deployed.
Let us start our first example of automating build of our application with Azure Pipelines.
Pre-requisites
In order to complete this example we need:
- Azure subscription
- GitHub account
- Application code in Git Repository
Step-by-step Execution
Logon to portal.azure.com using your azure credentials and click on Azure DevOps Organizations.

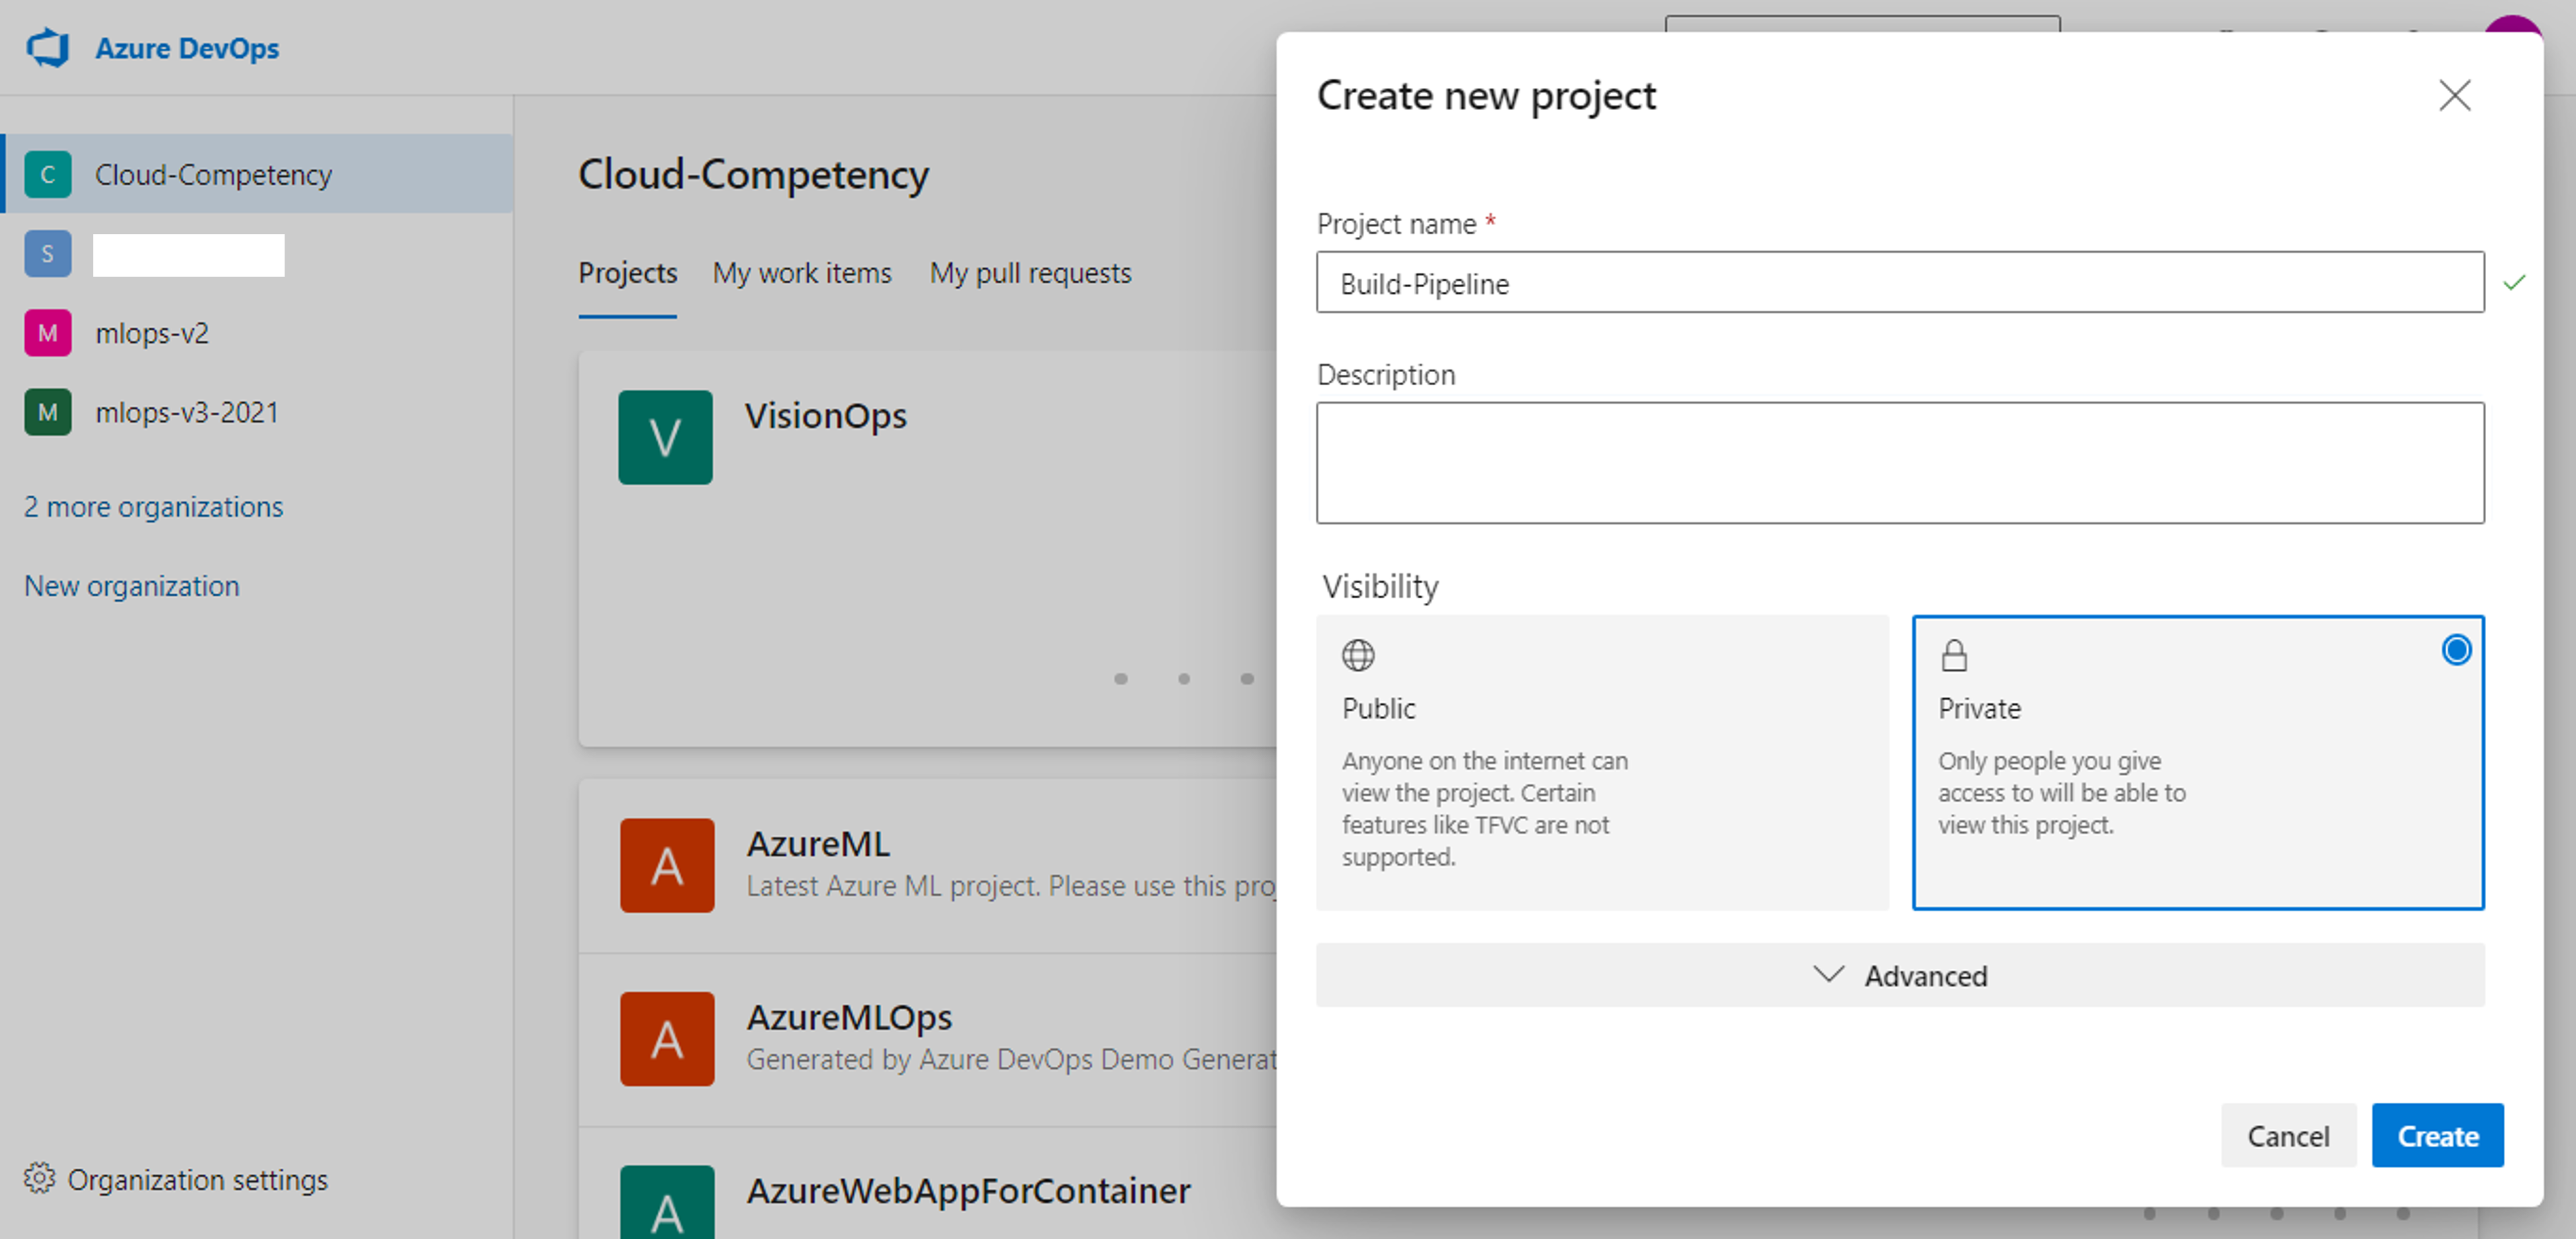
If you already have an organization click on the organization to create a new project. Otherwise create a new organization first and then create a new project.
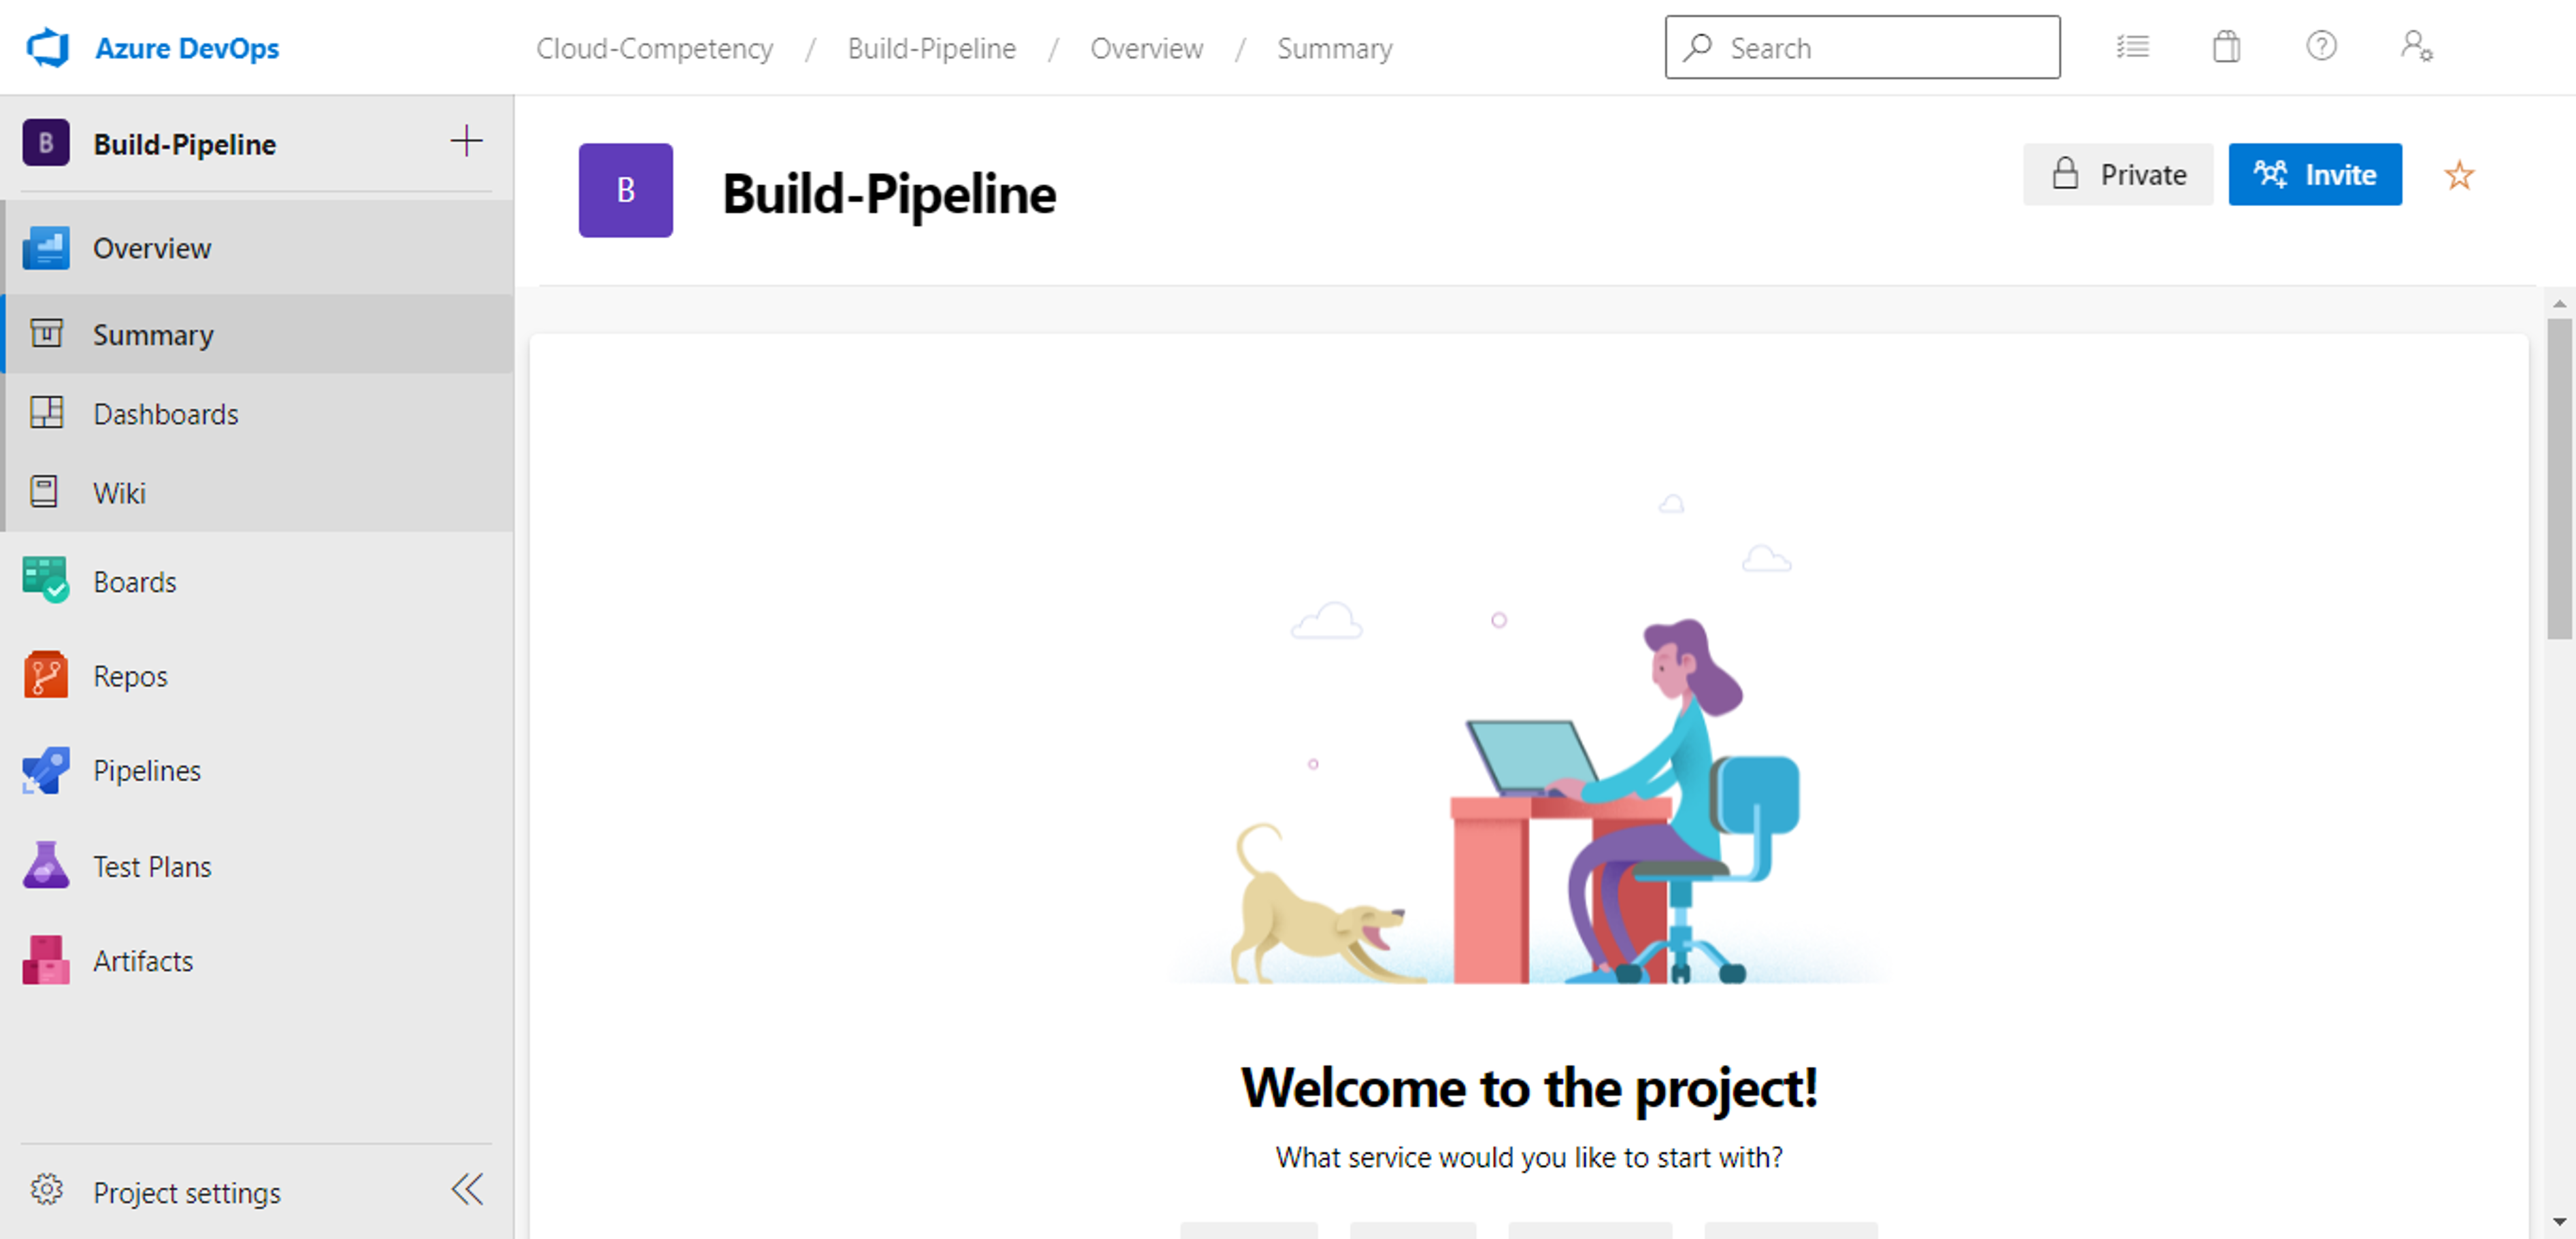
Click on Pipelines to create a new pipeline
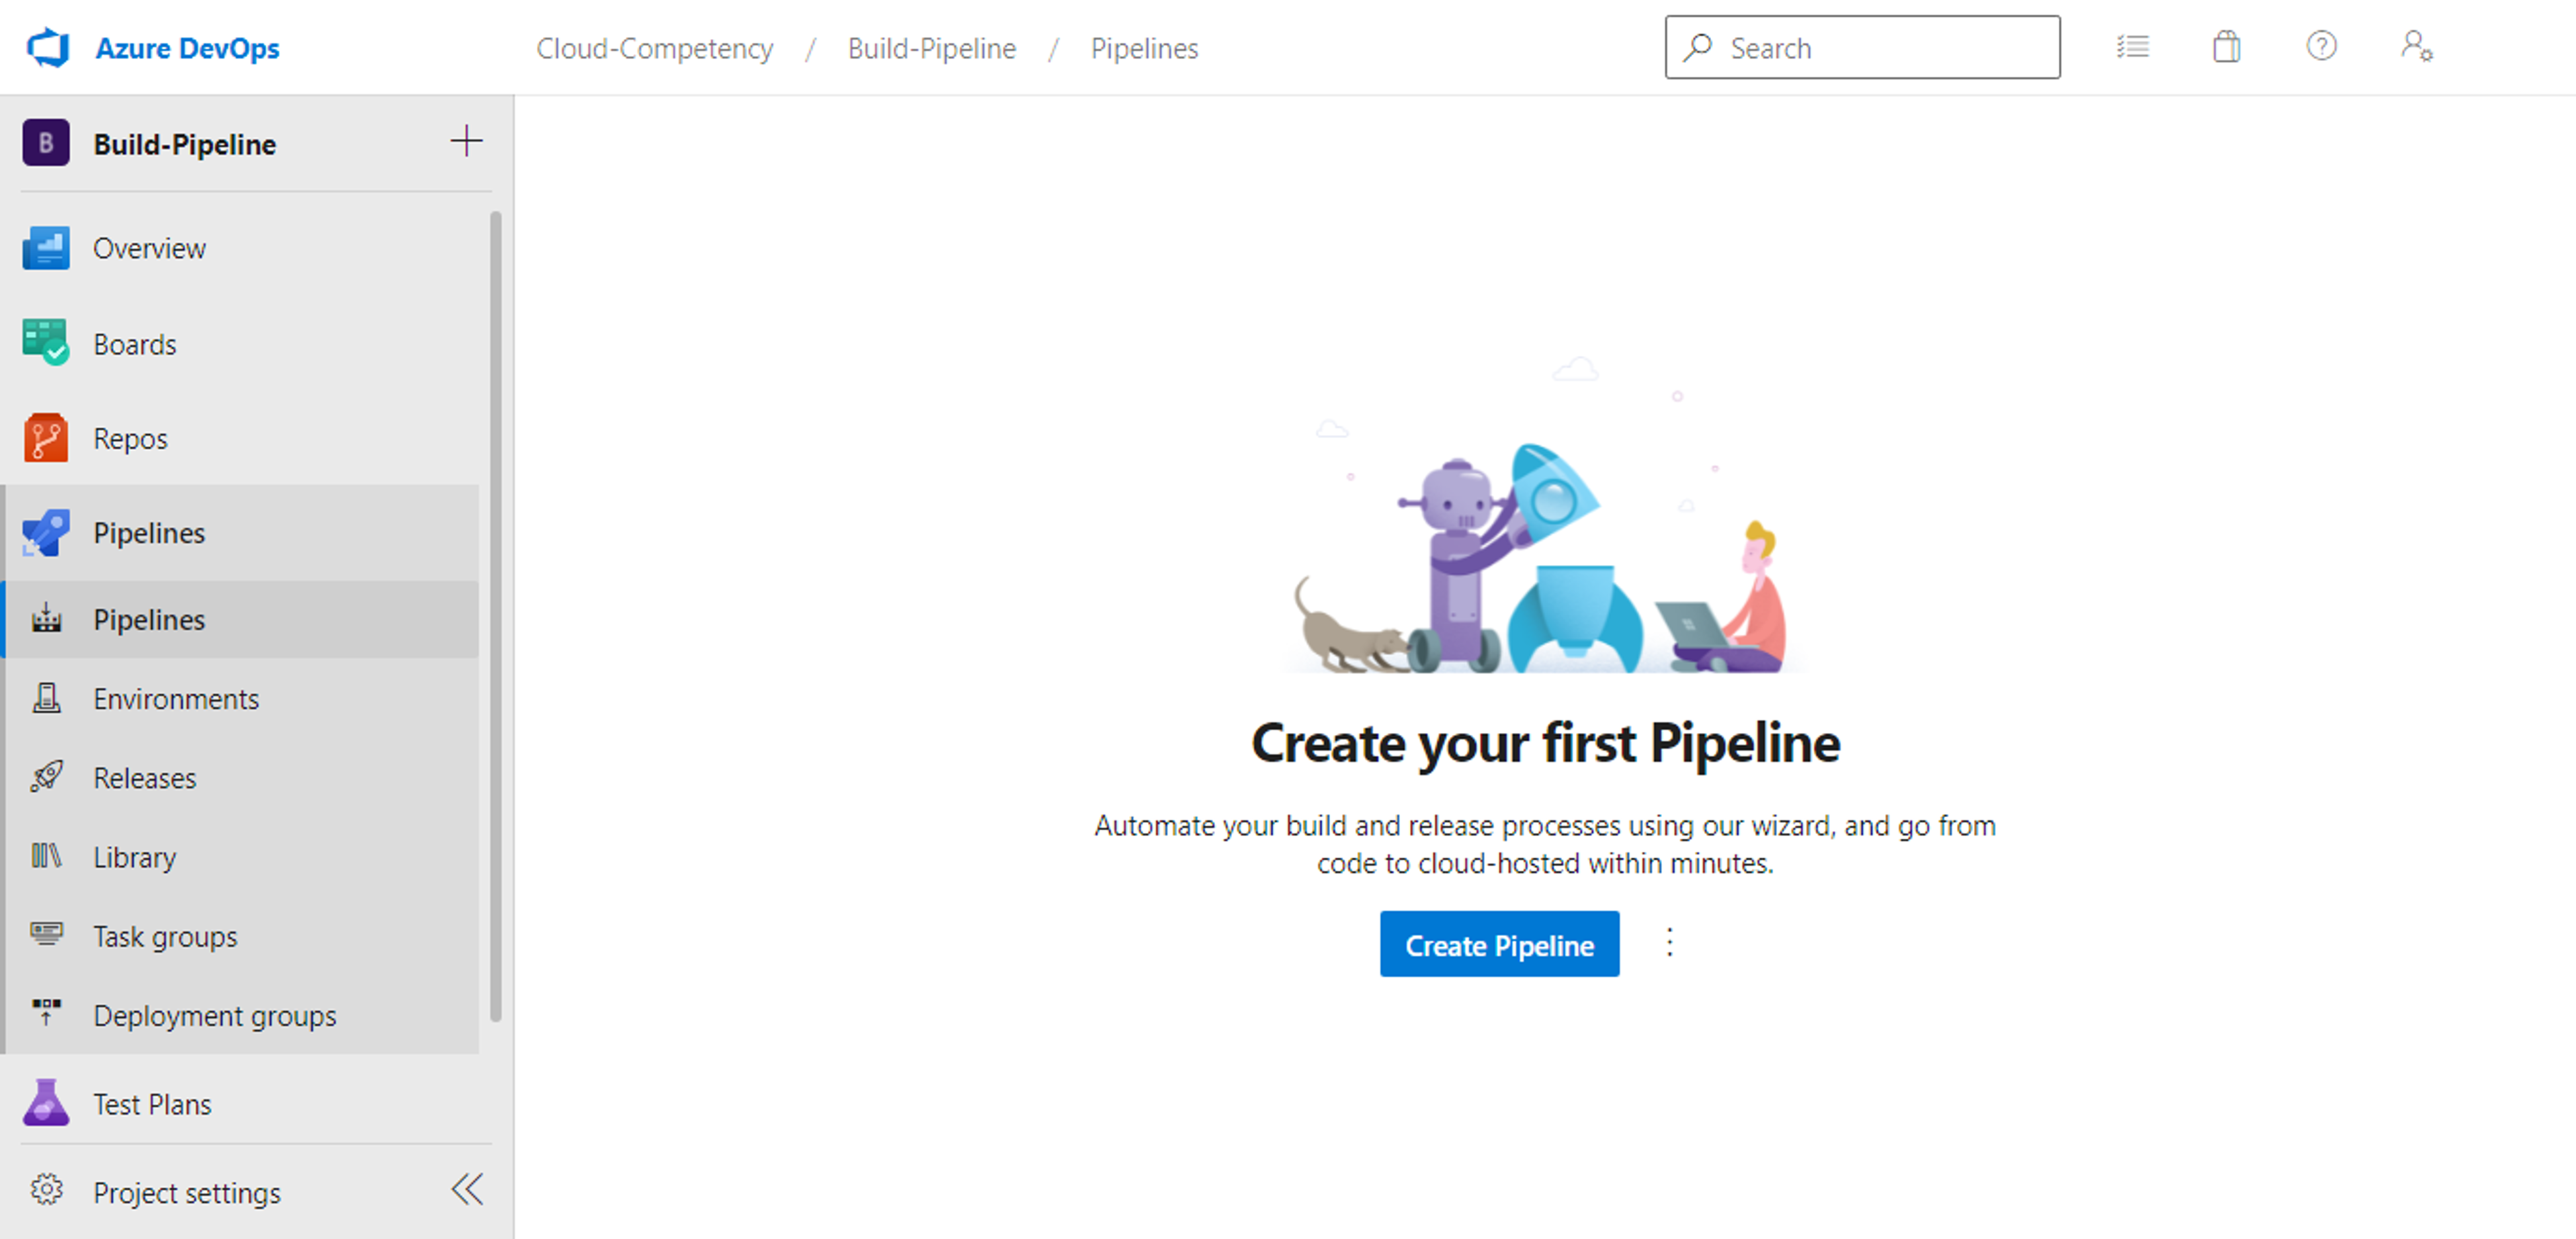
Click on new Create Pipeline to create a new pipeline.
Click on Use classic editor at the bottom of the page to create a pipeline
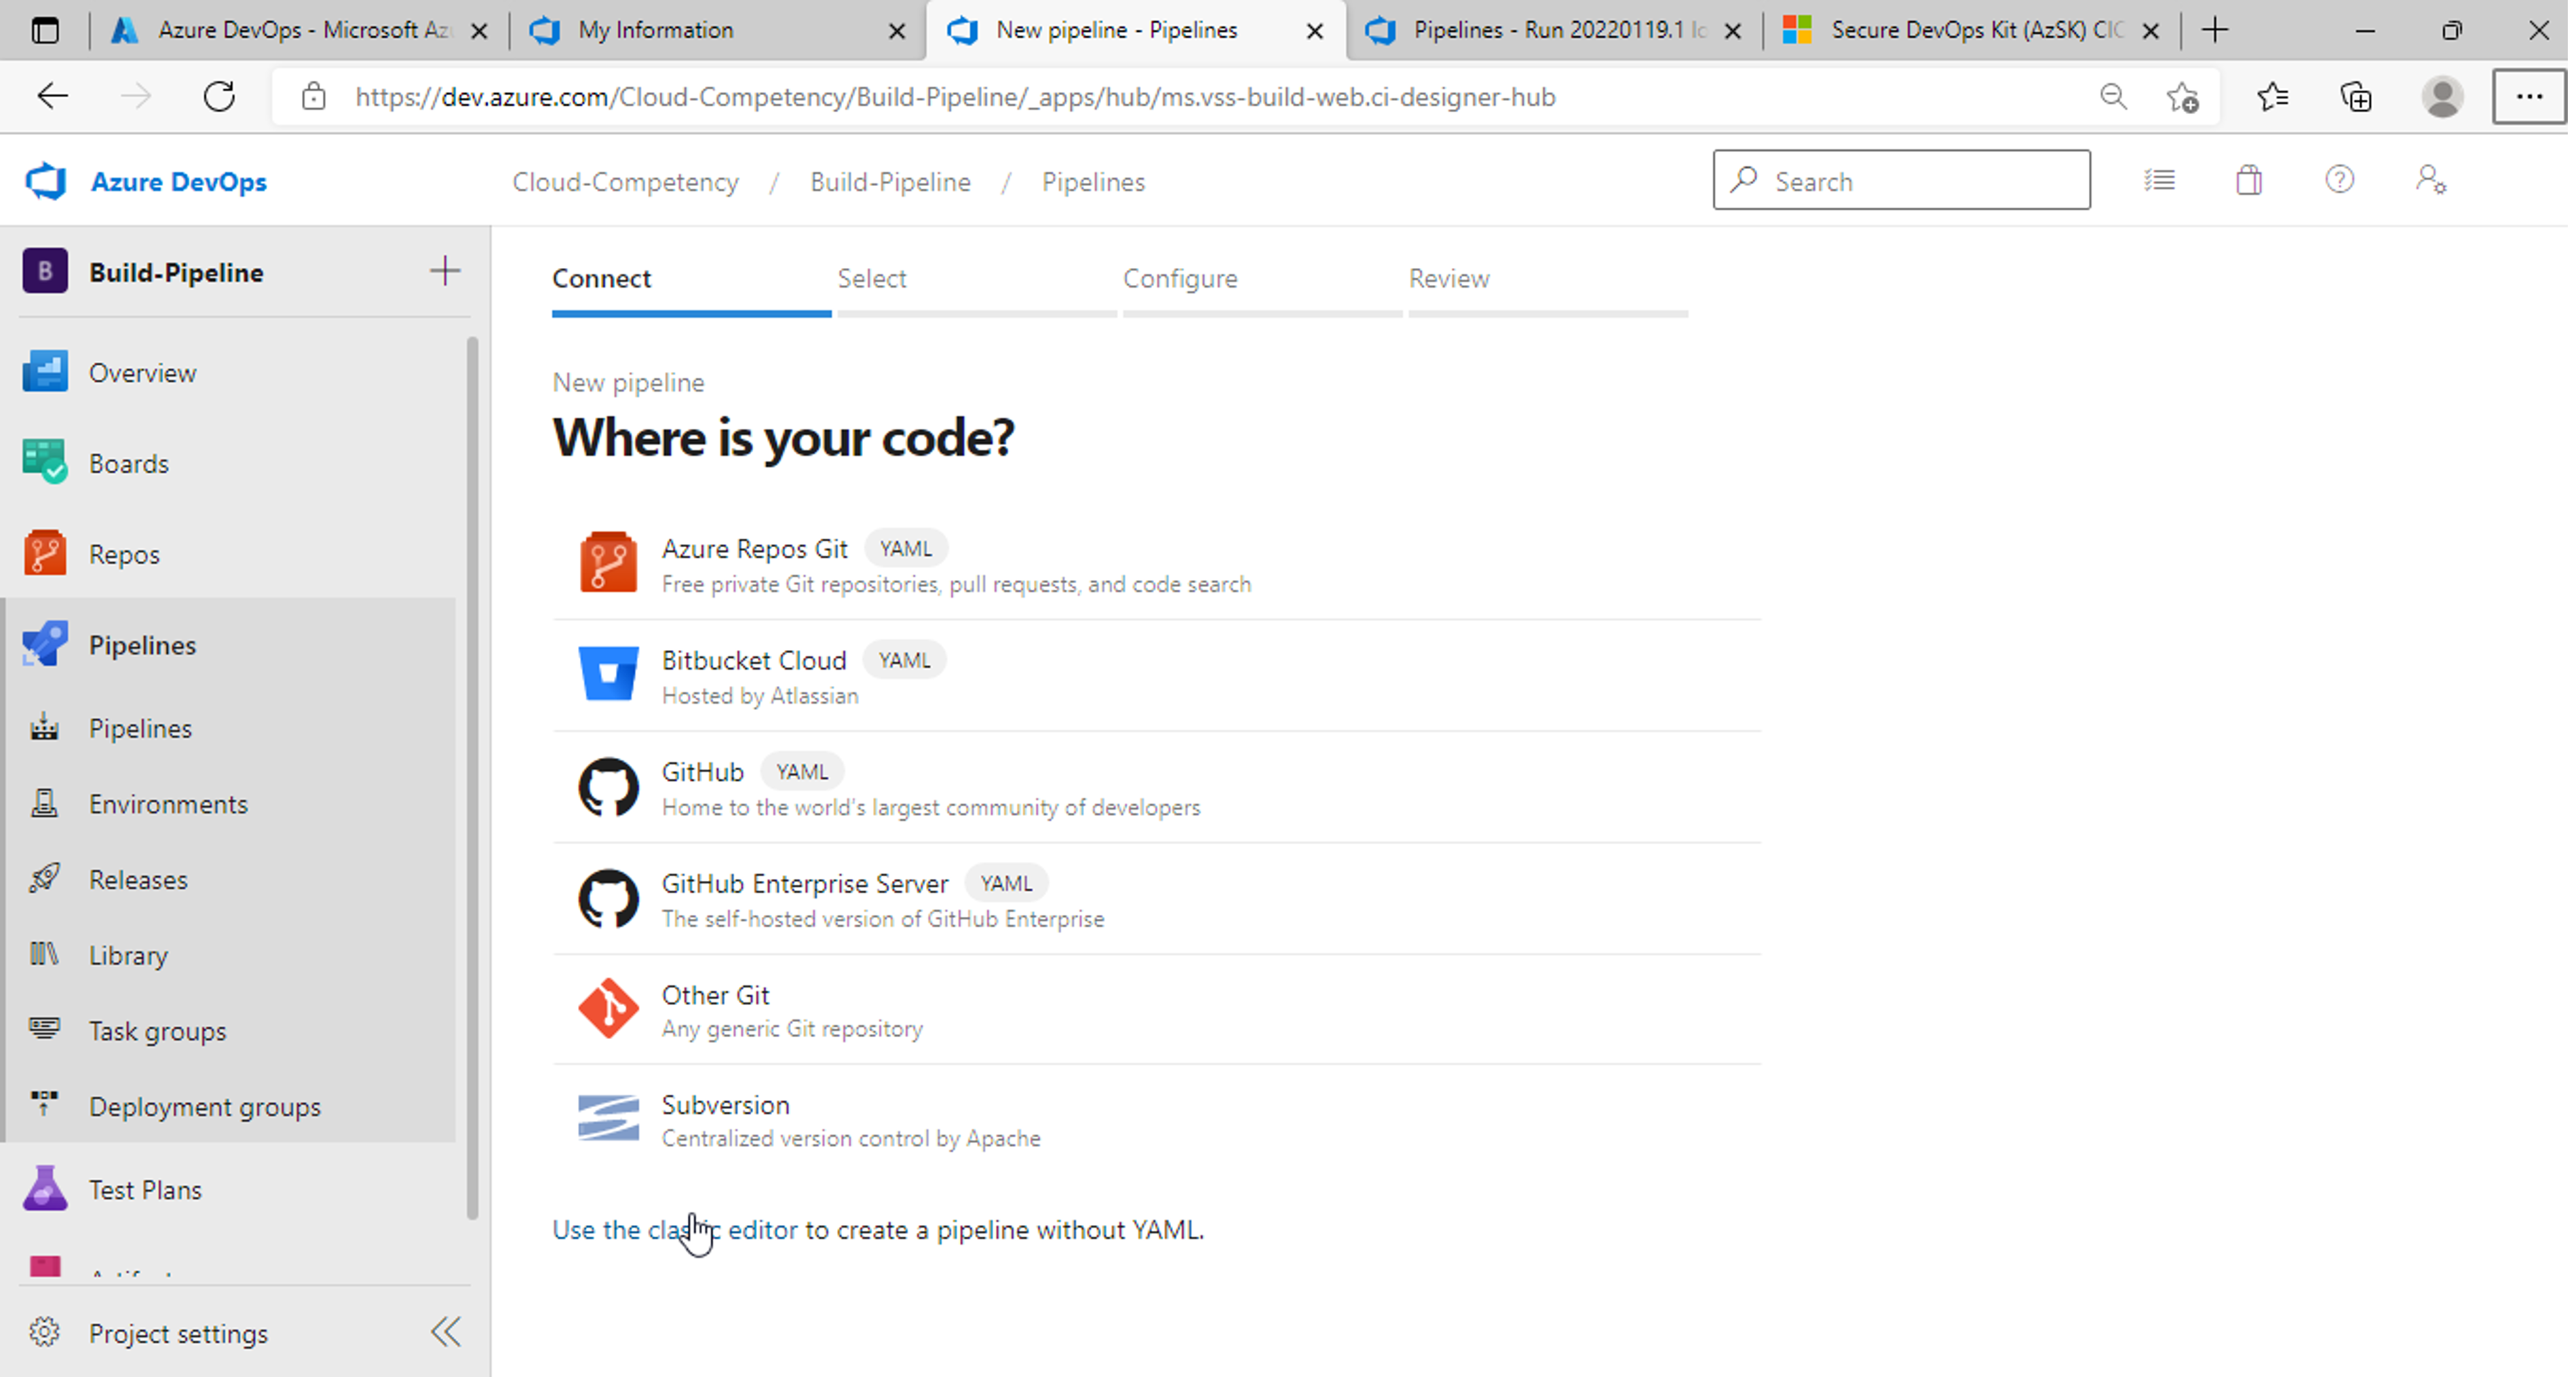
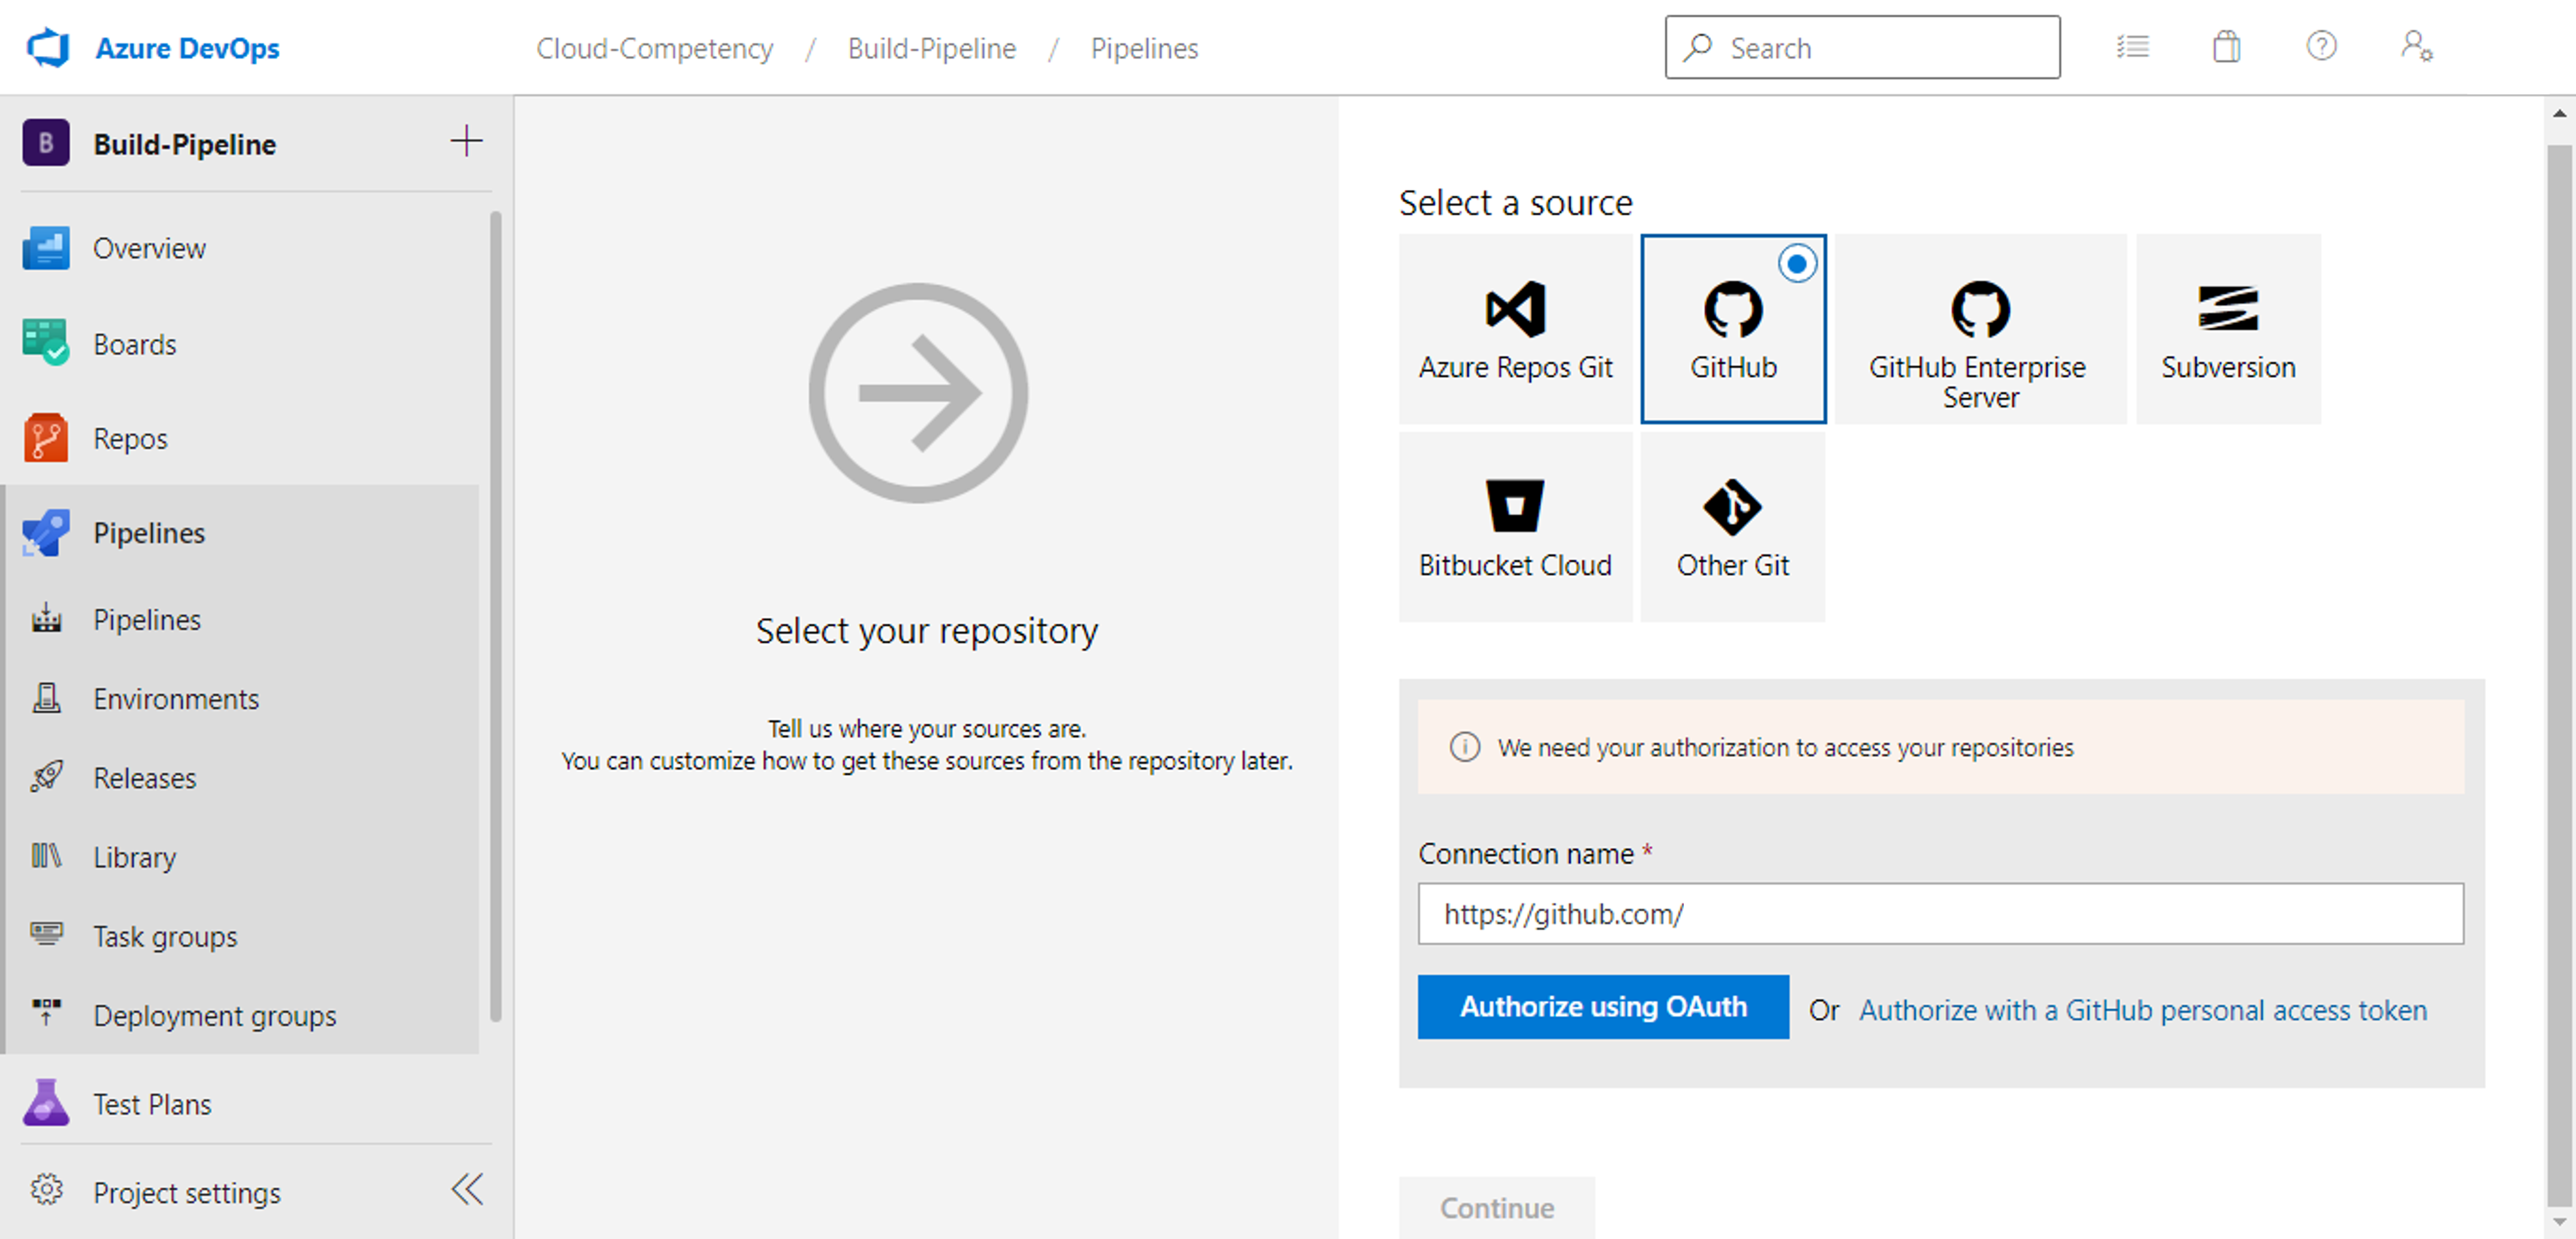
Click on GitHub as source, enter your GitHub repository url in connection name and click on Authorize using OAuth .
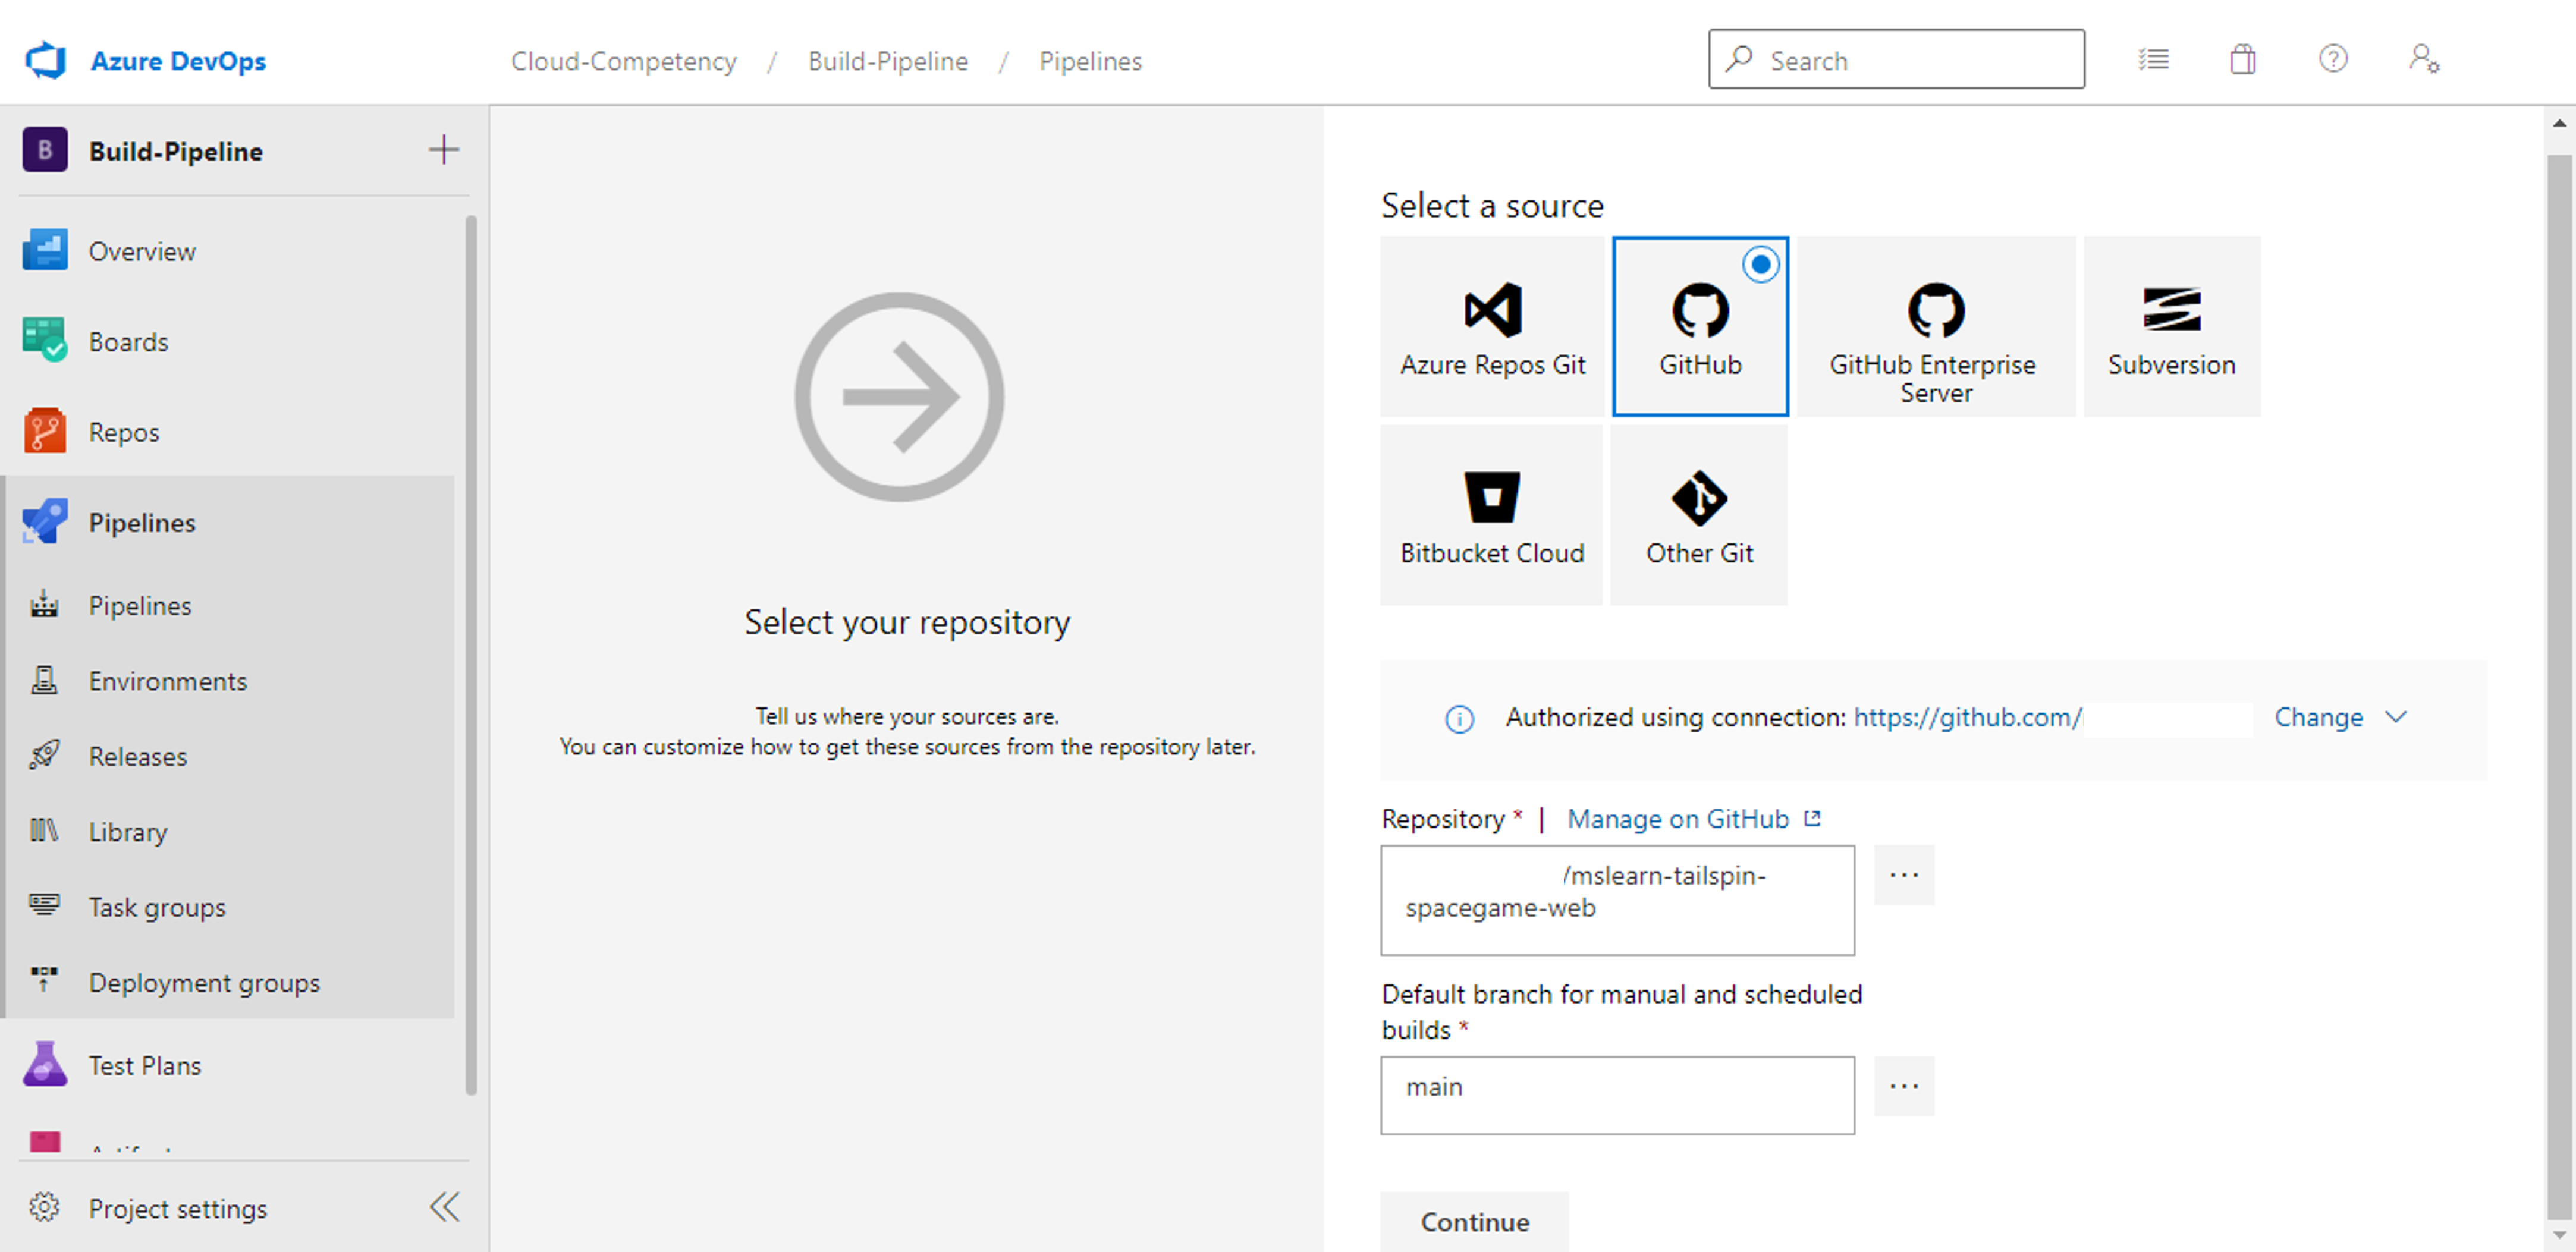
After authorization select your application code repository and relevant branch and click continue.
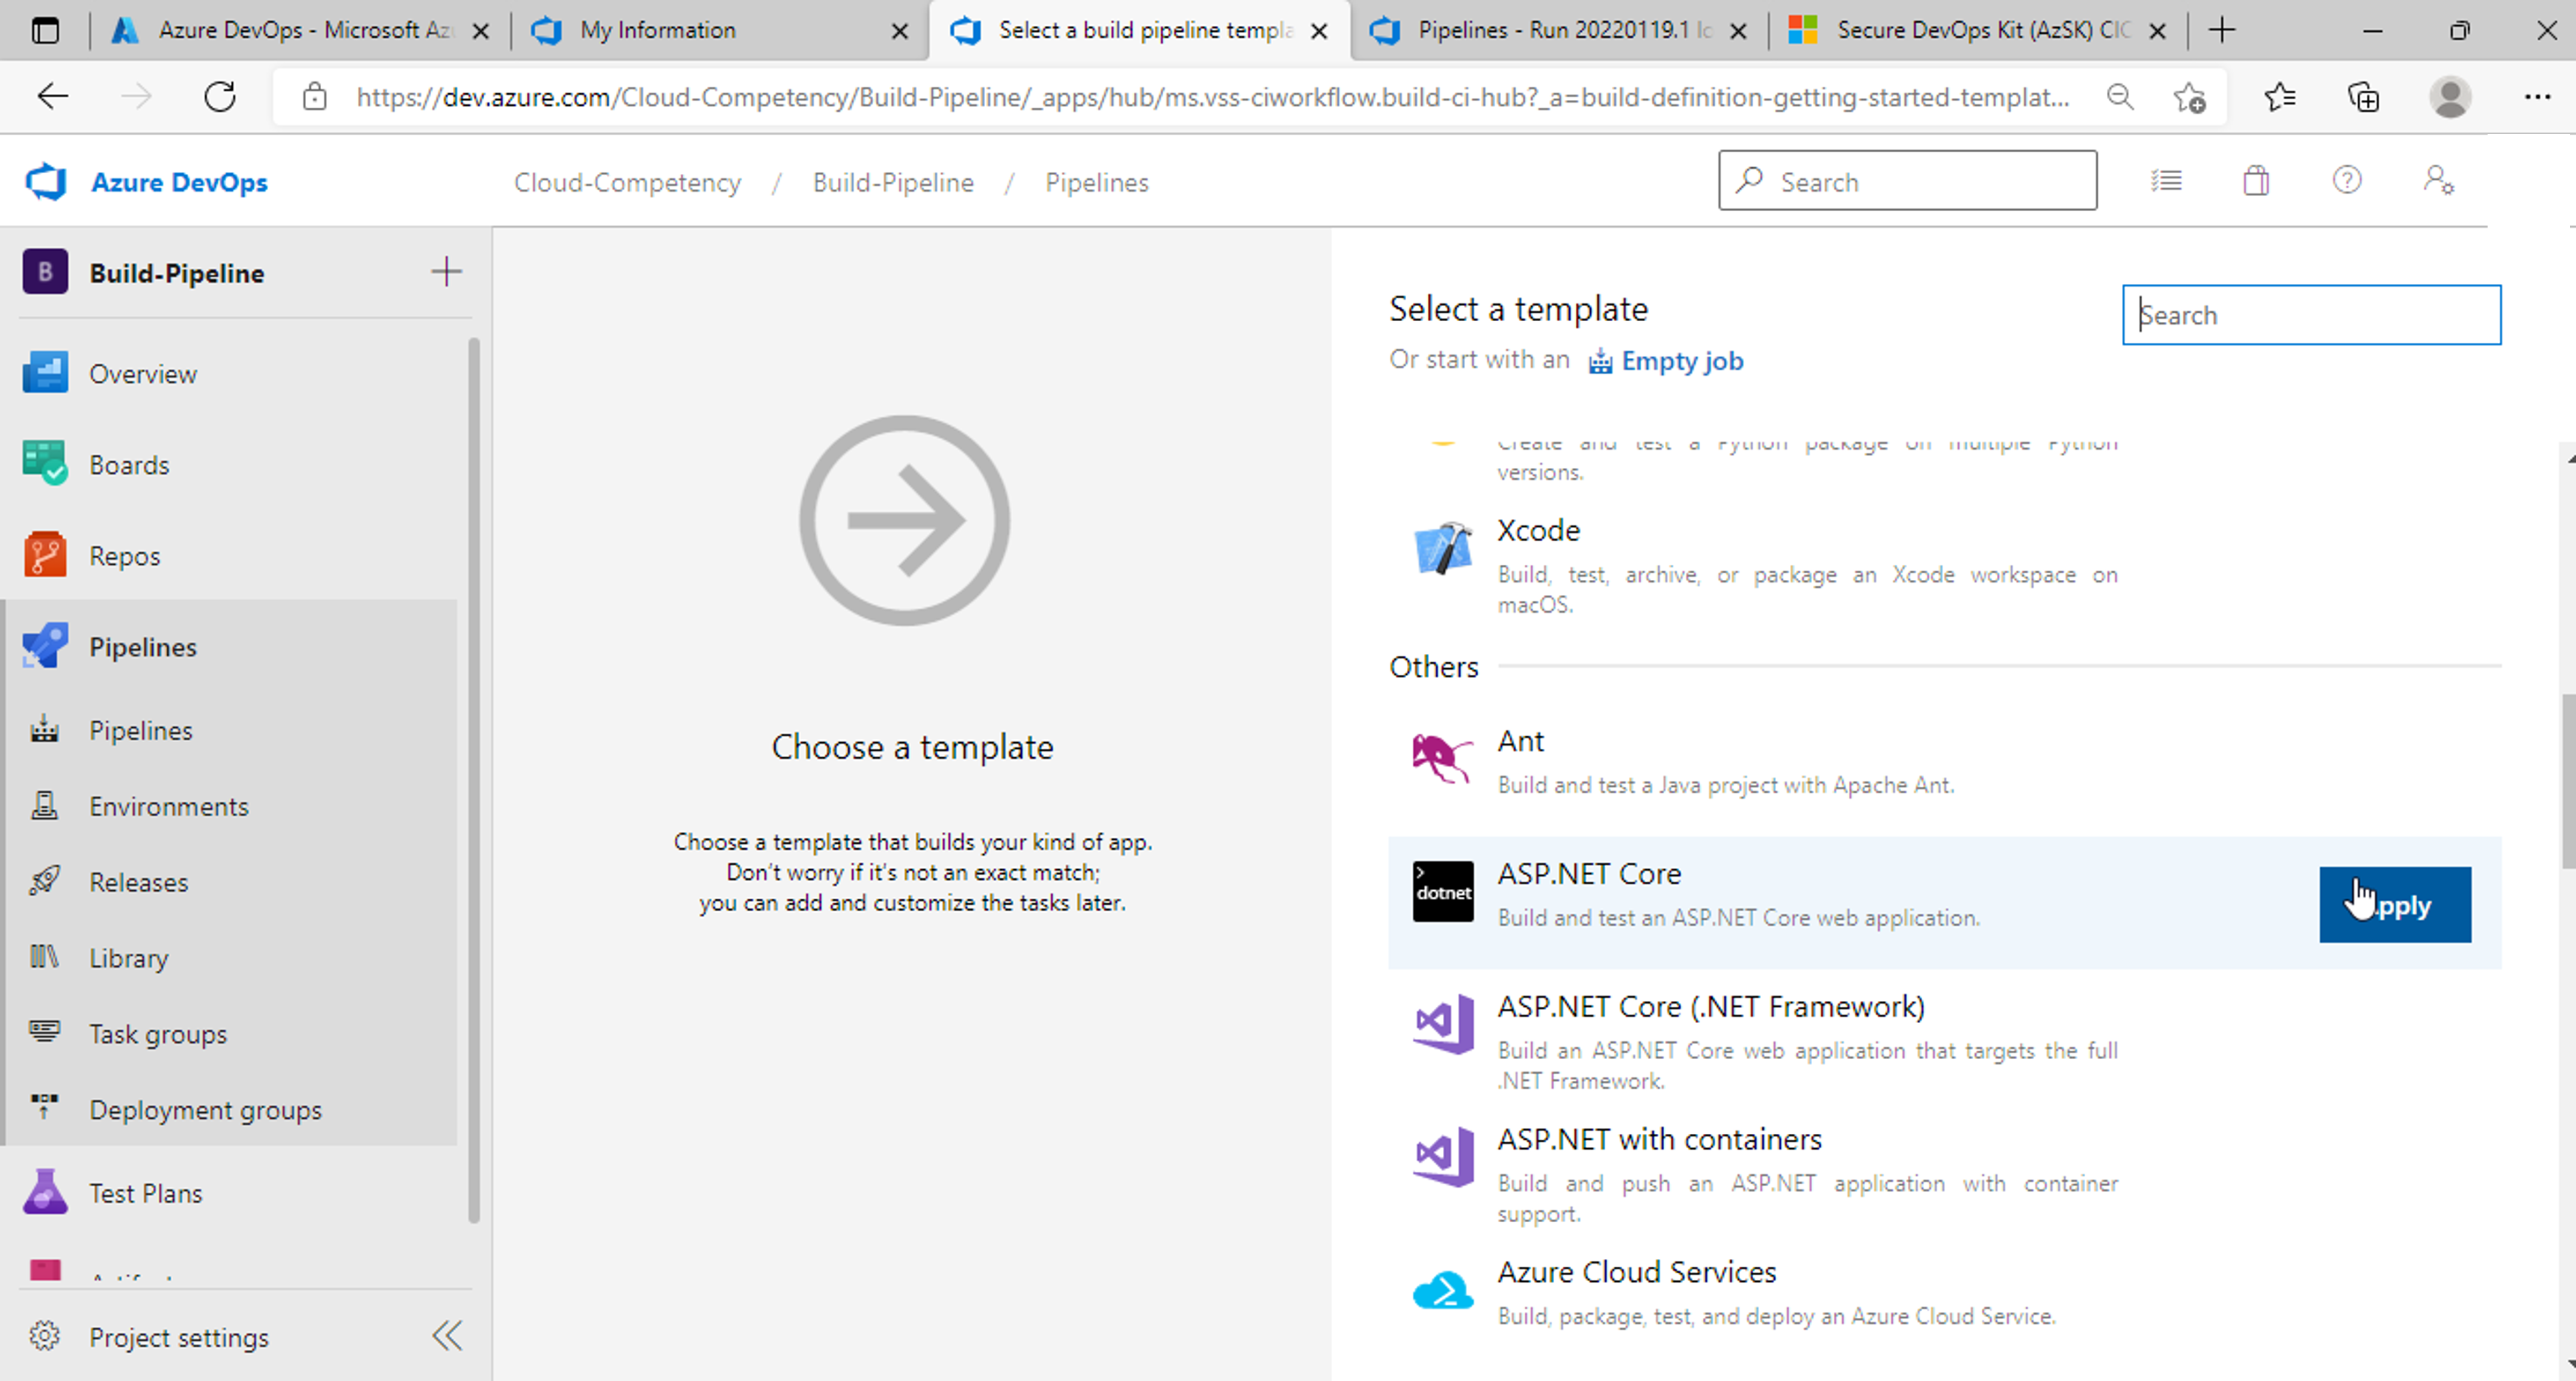
Select ASP.NET Core template from the list of templates
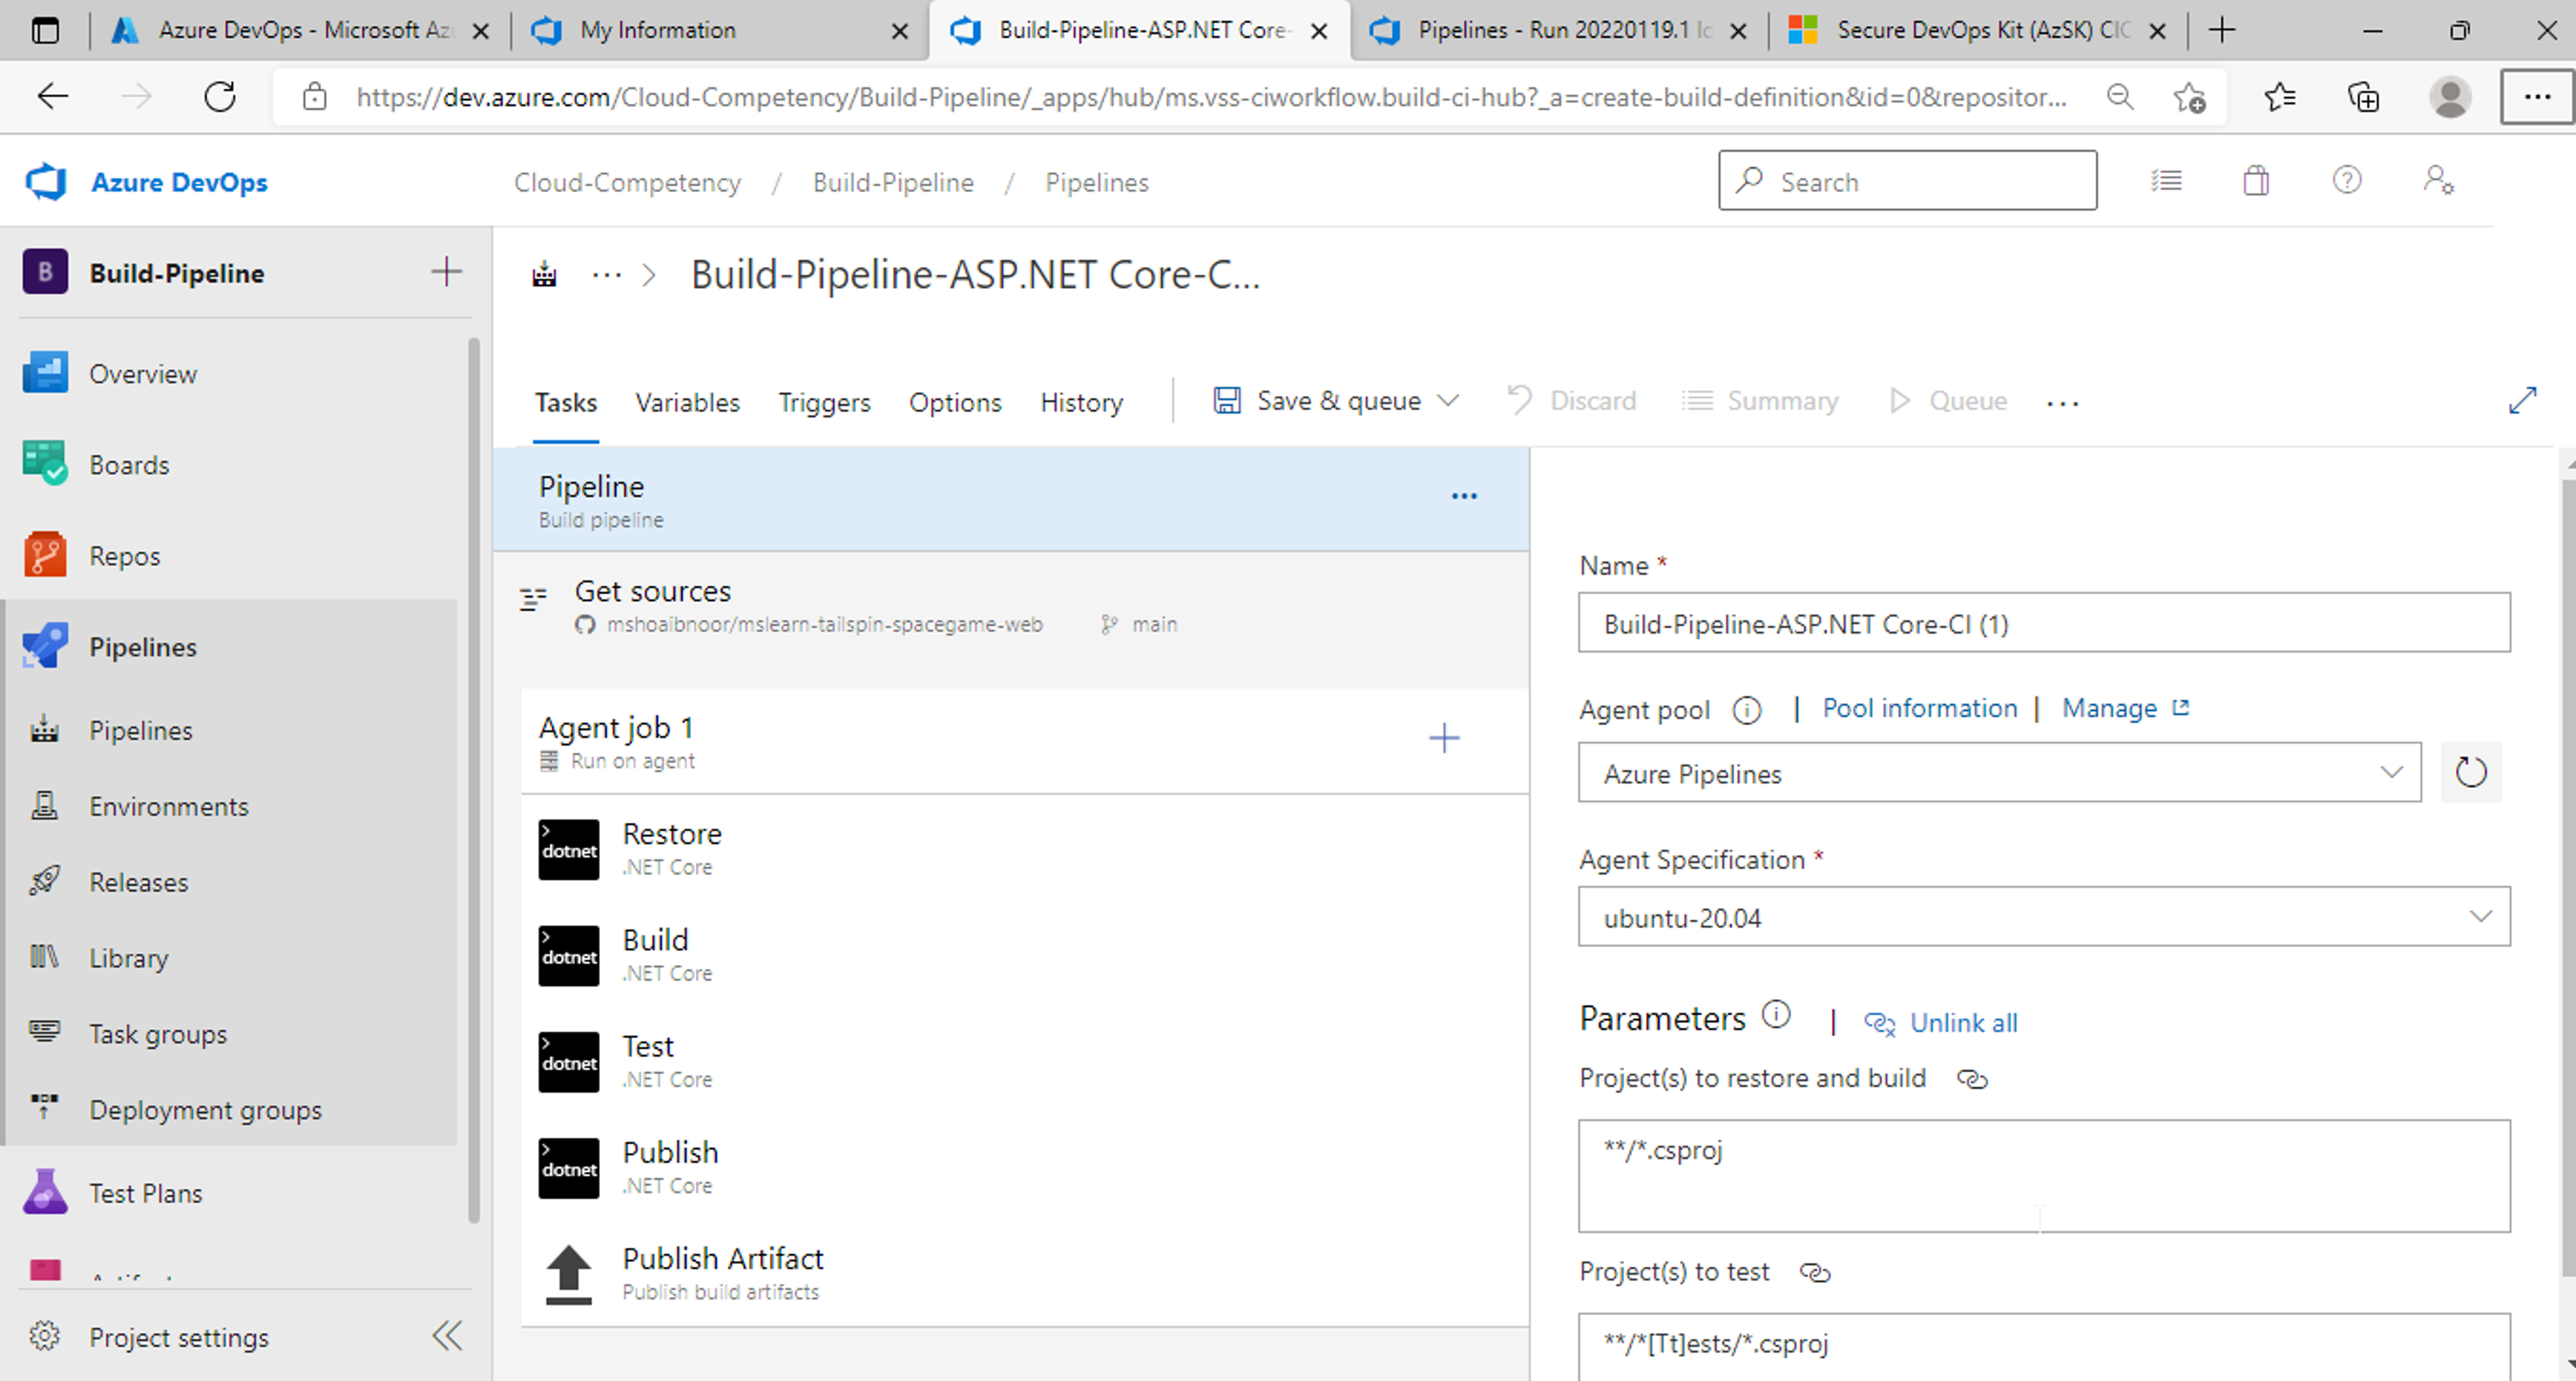
A pre-configured pipeline for ASP.NET core will be created with below steps/tasks.
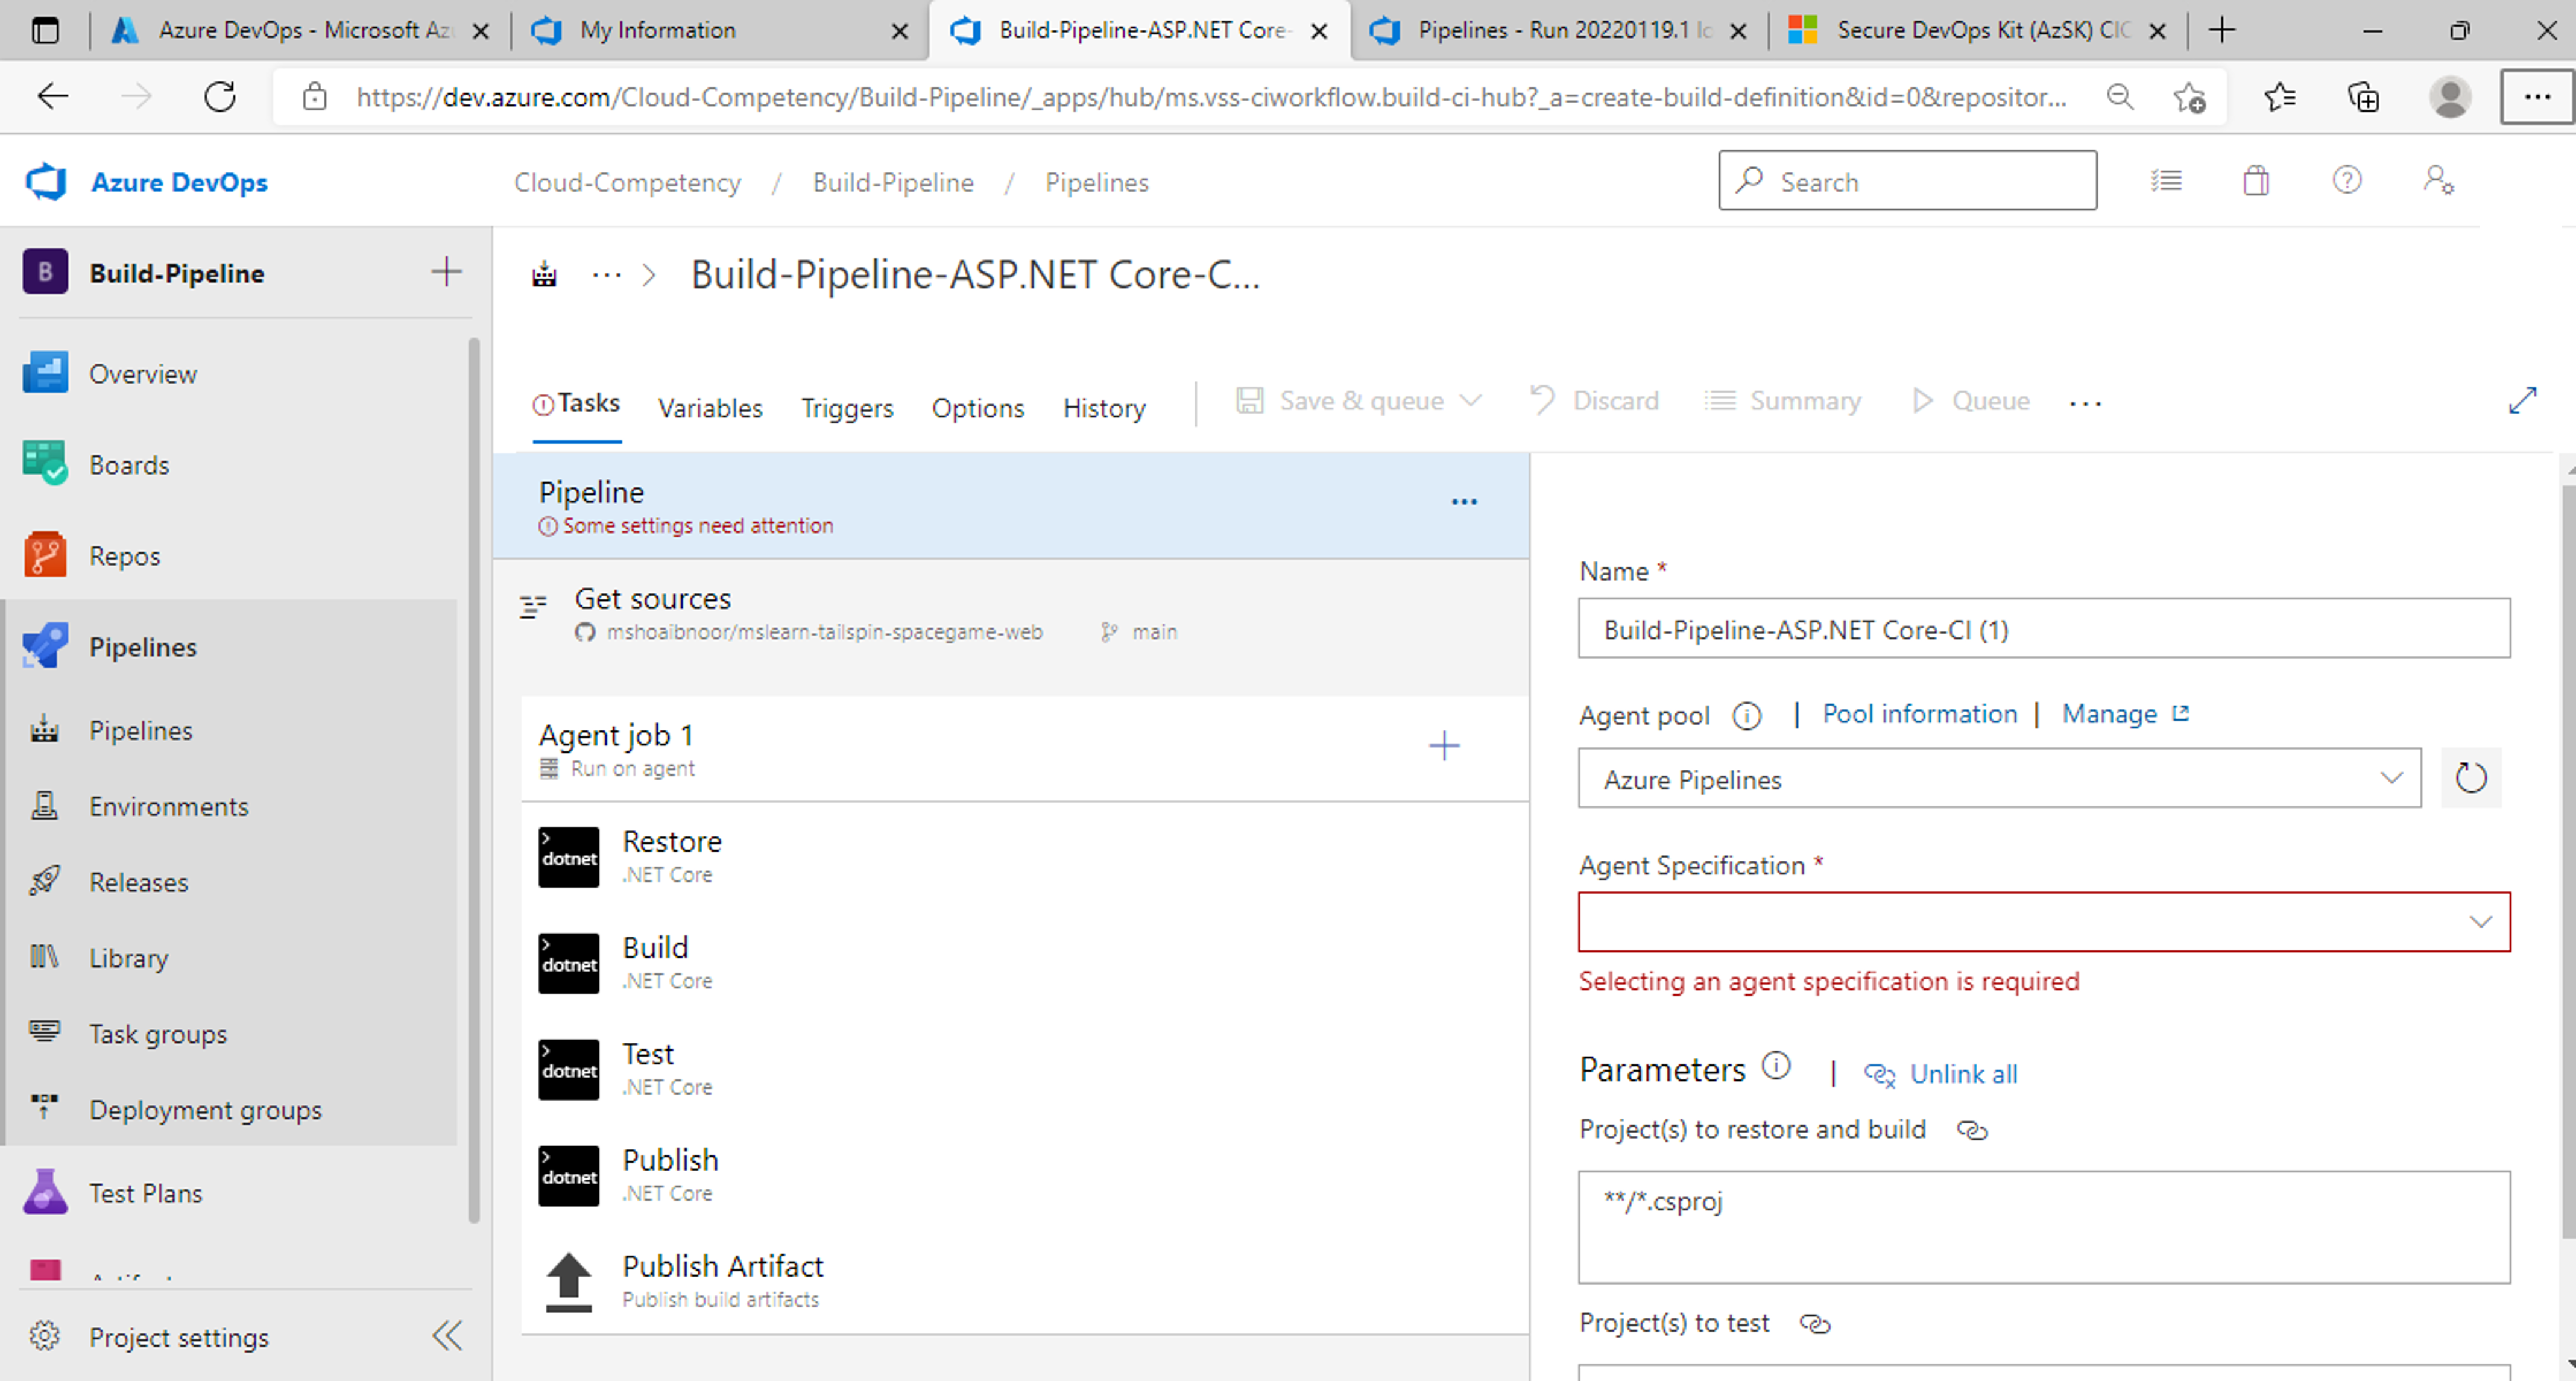
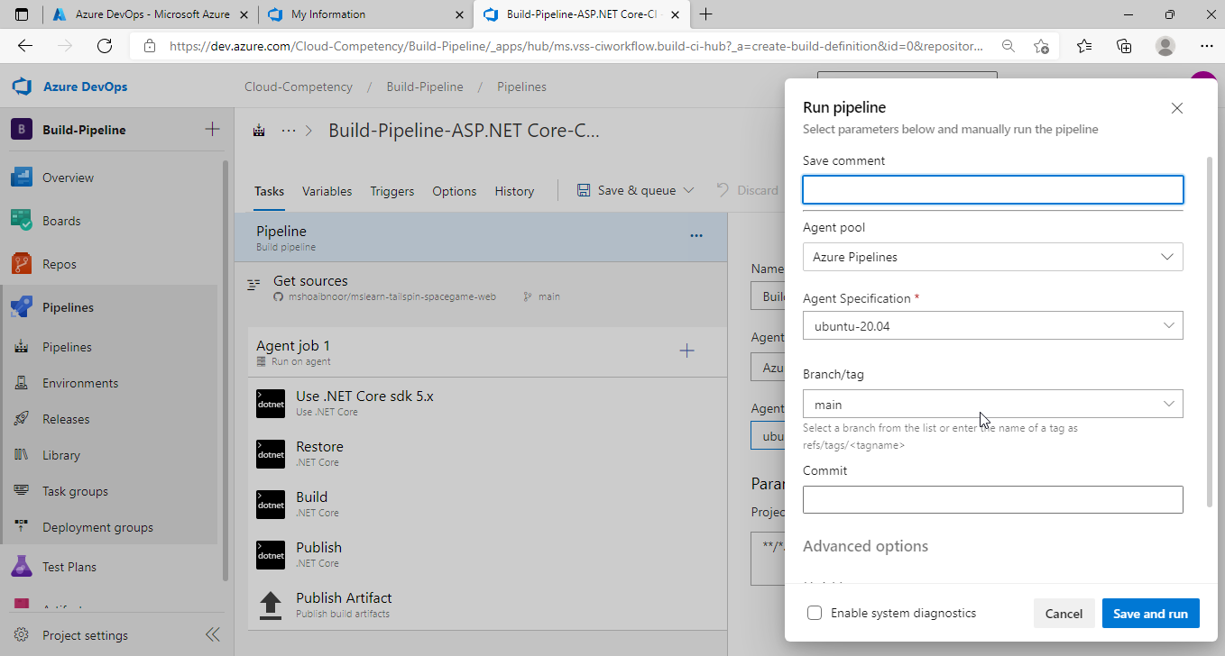
Select Ubuntu-20.04 for Agent Specification.
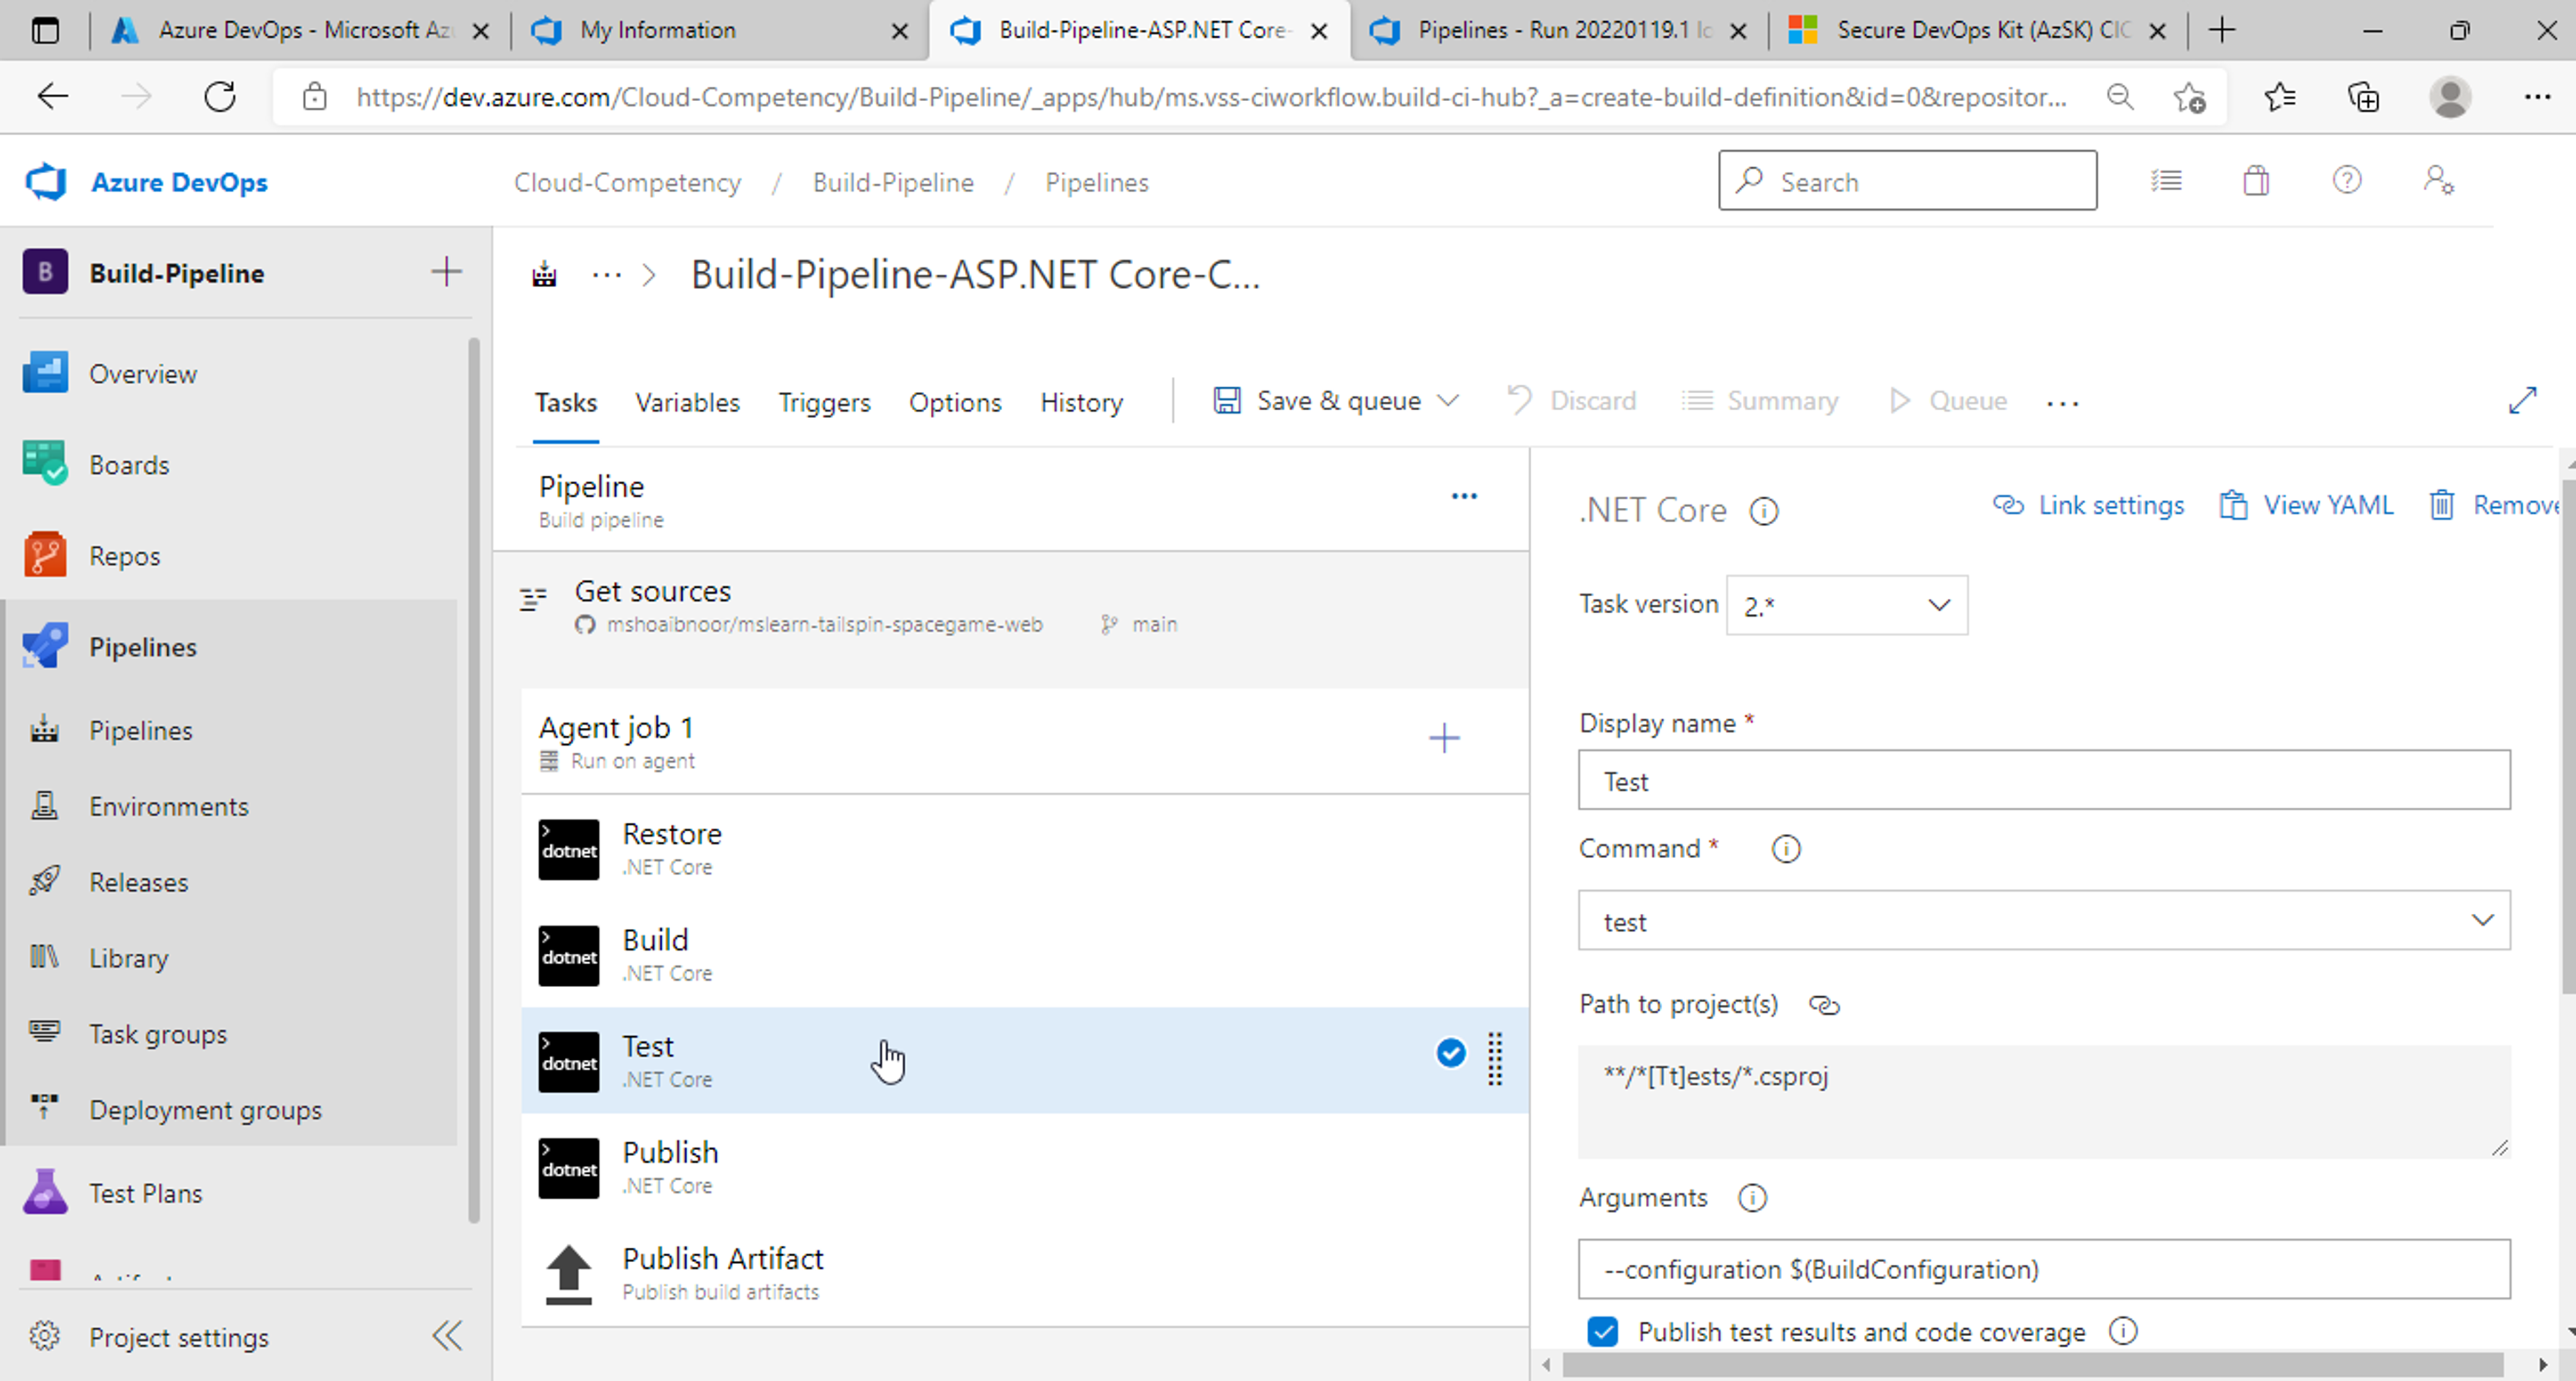
Right click on Test task and remove it. We will cover unit tests in more details in our article on testing phase of the pipeline.
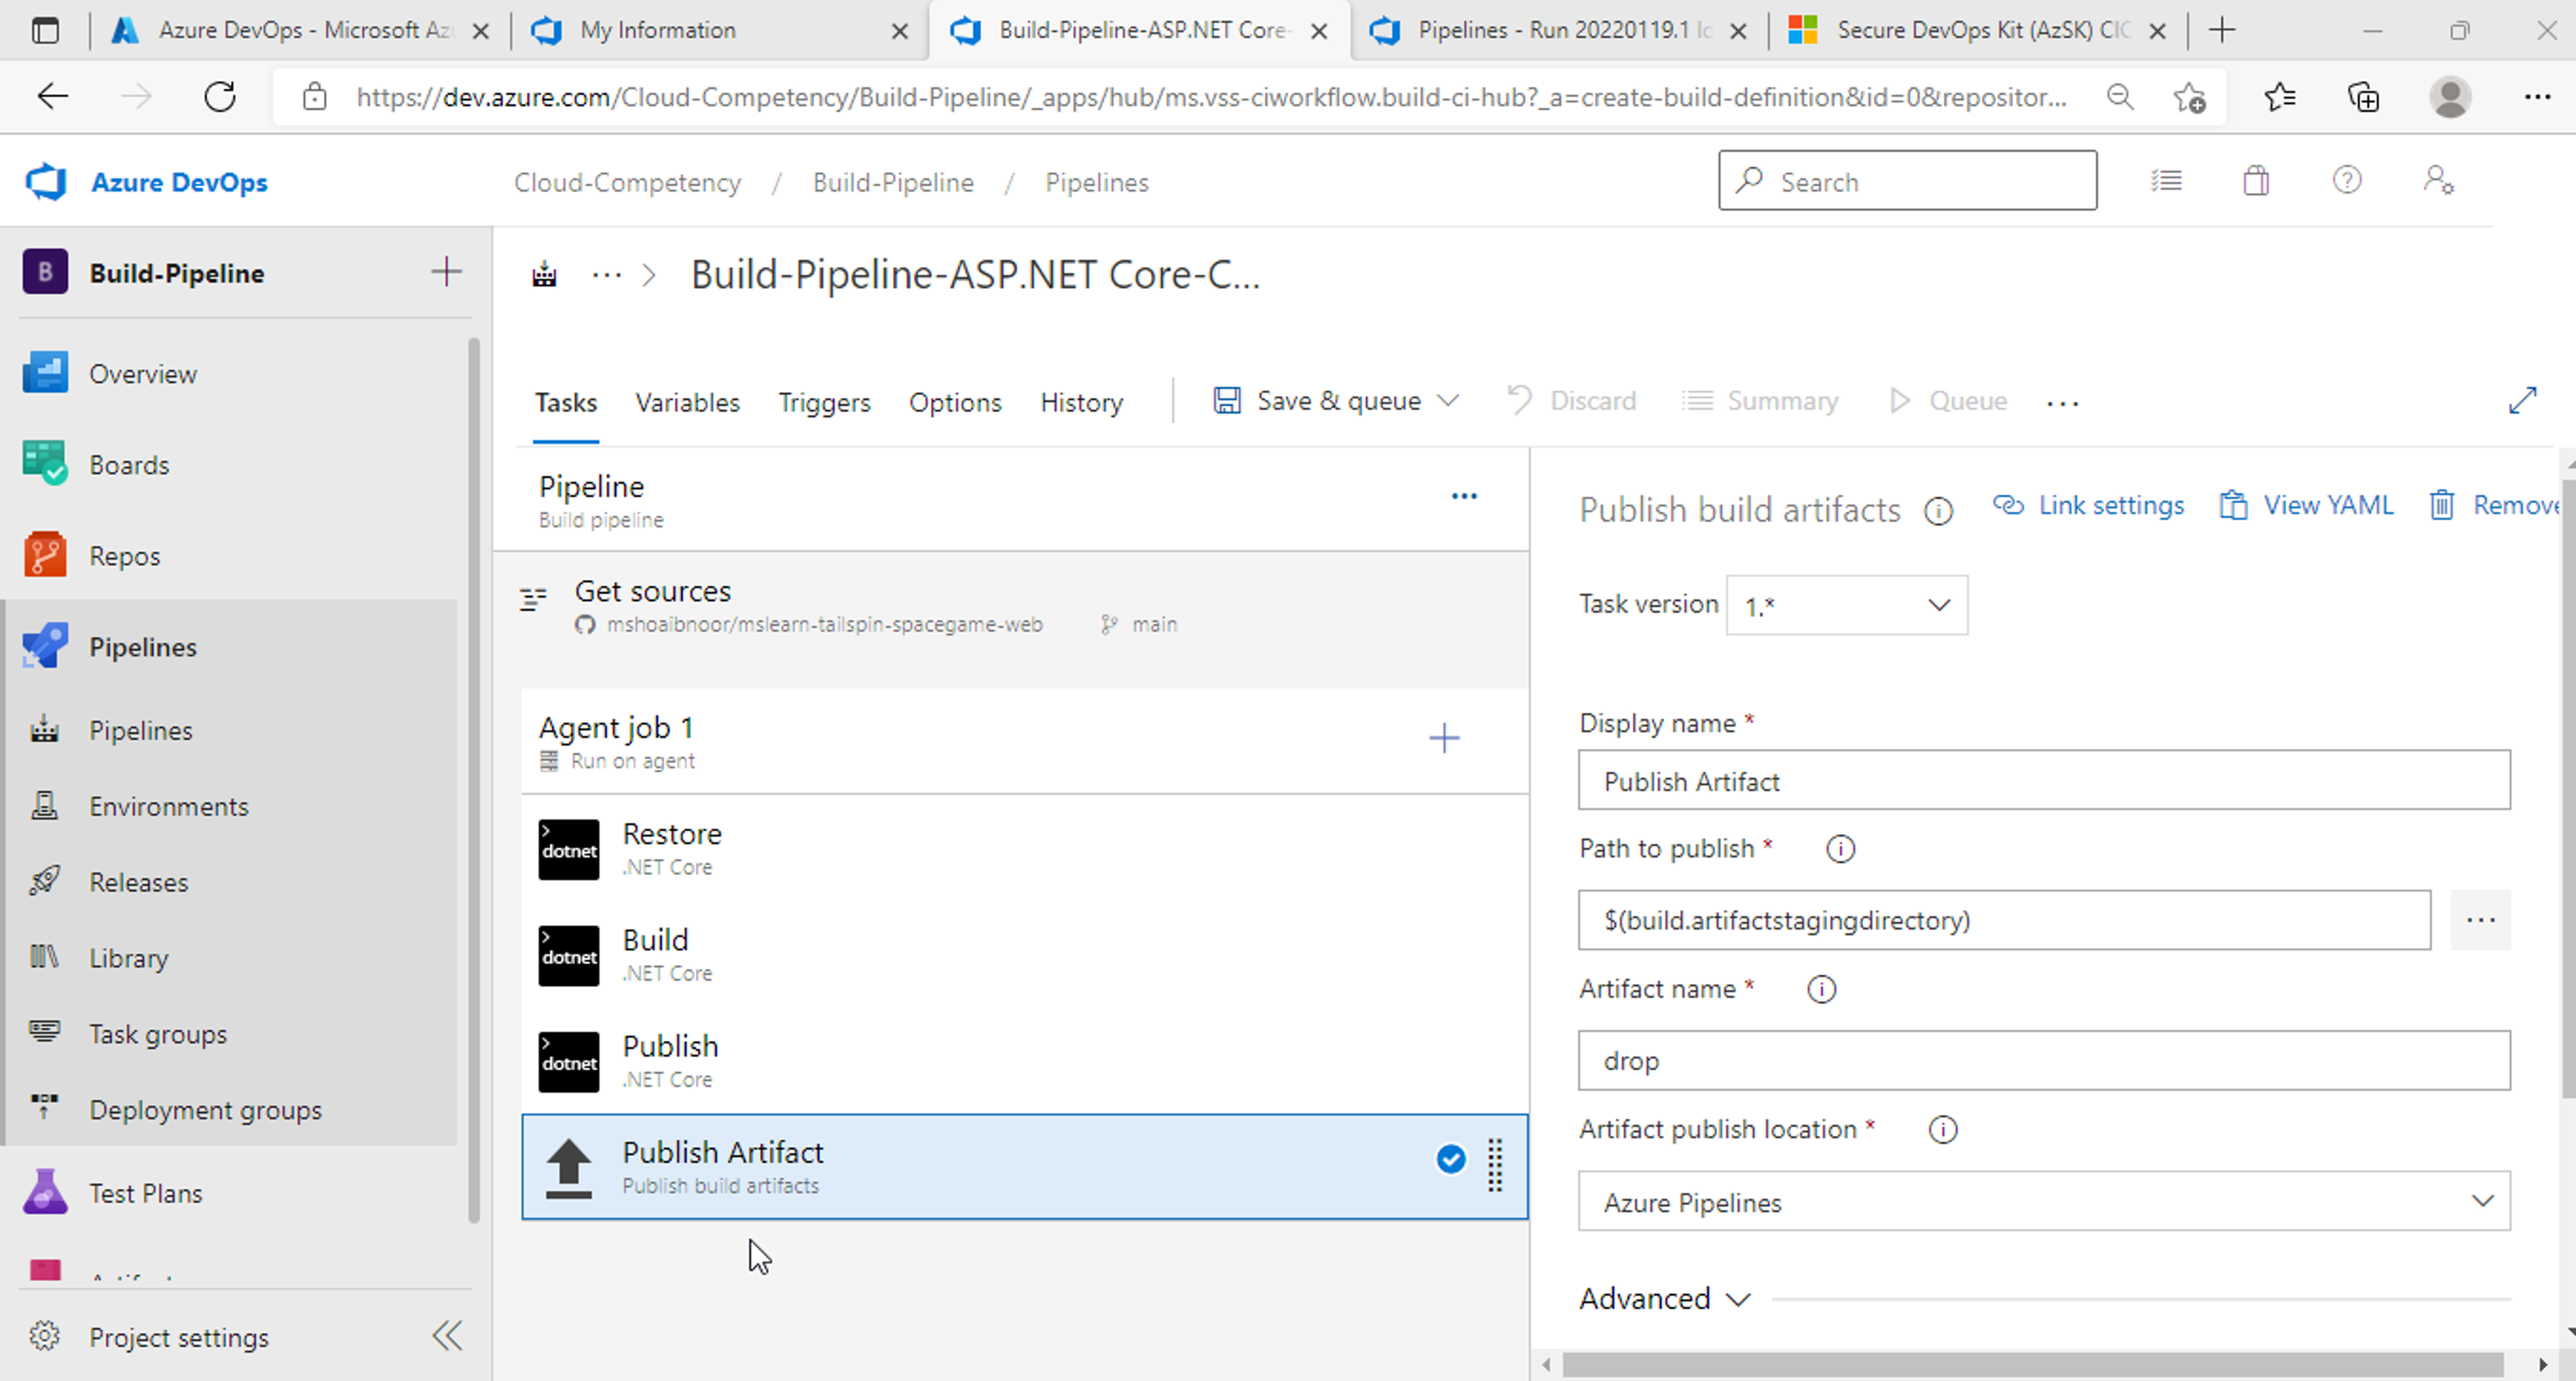
We now have 4 tasks in our pipeline. Restore, Build, Publish and Publish Artifact.
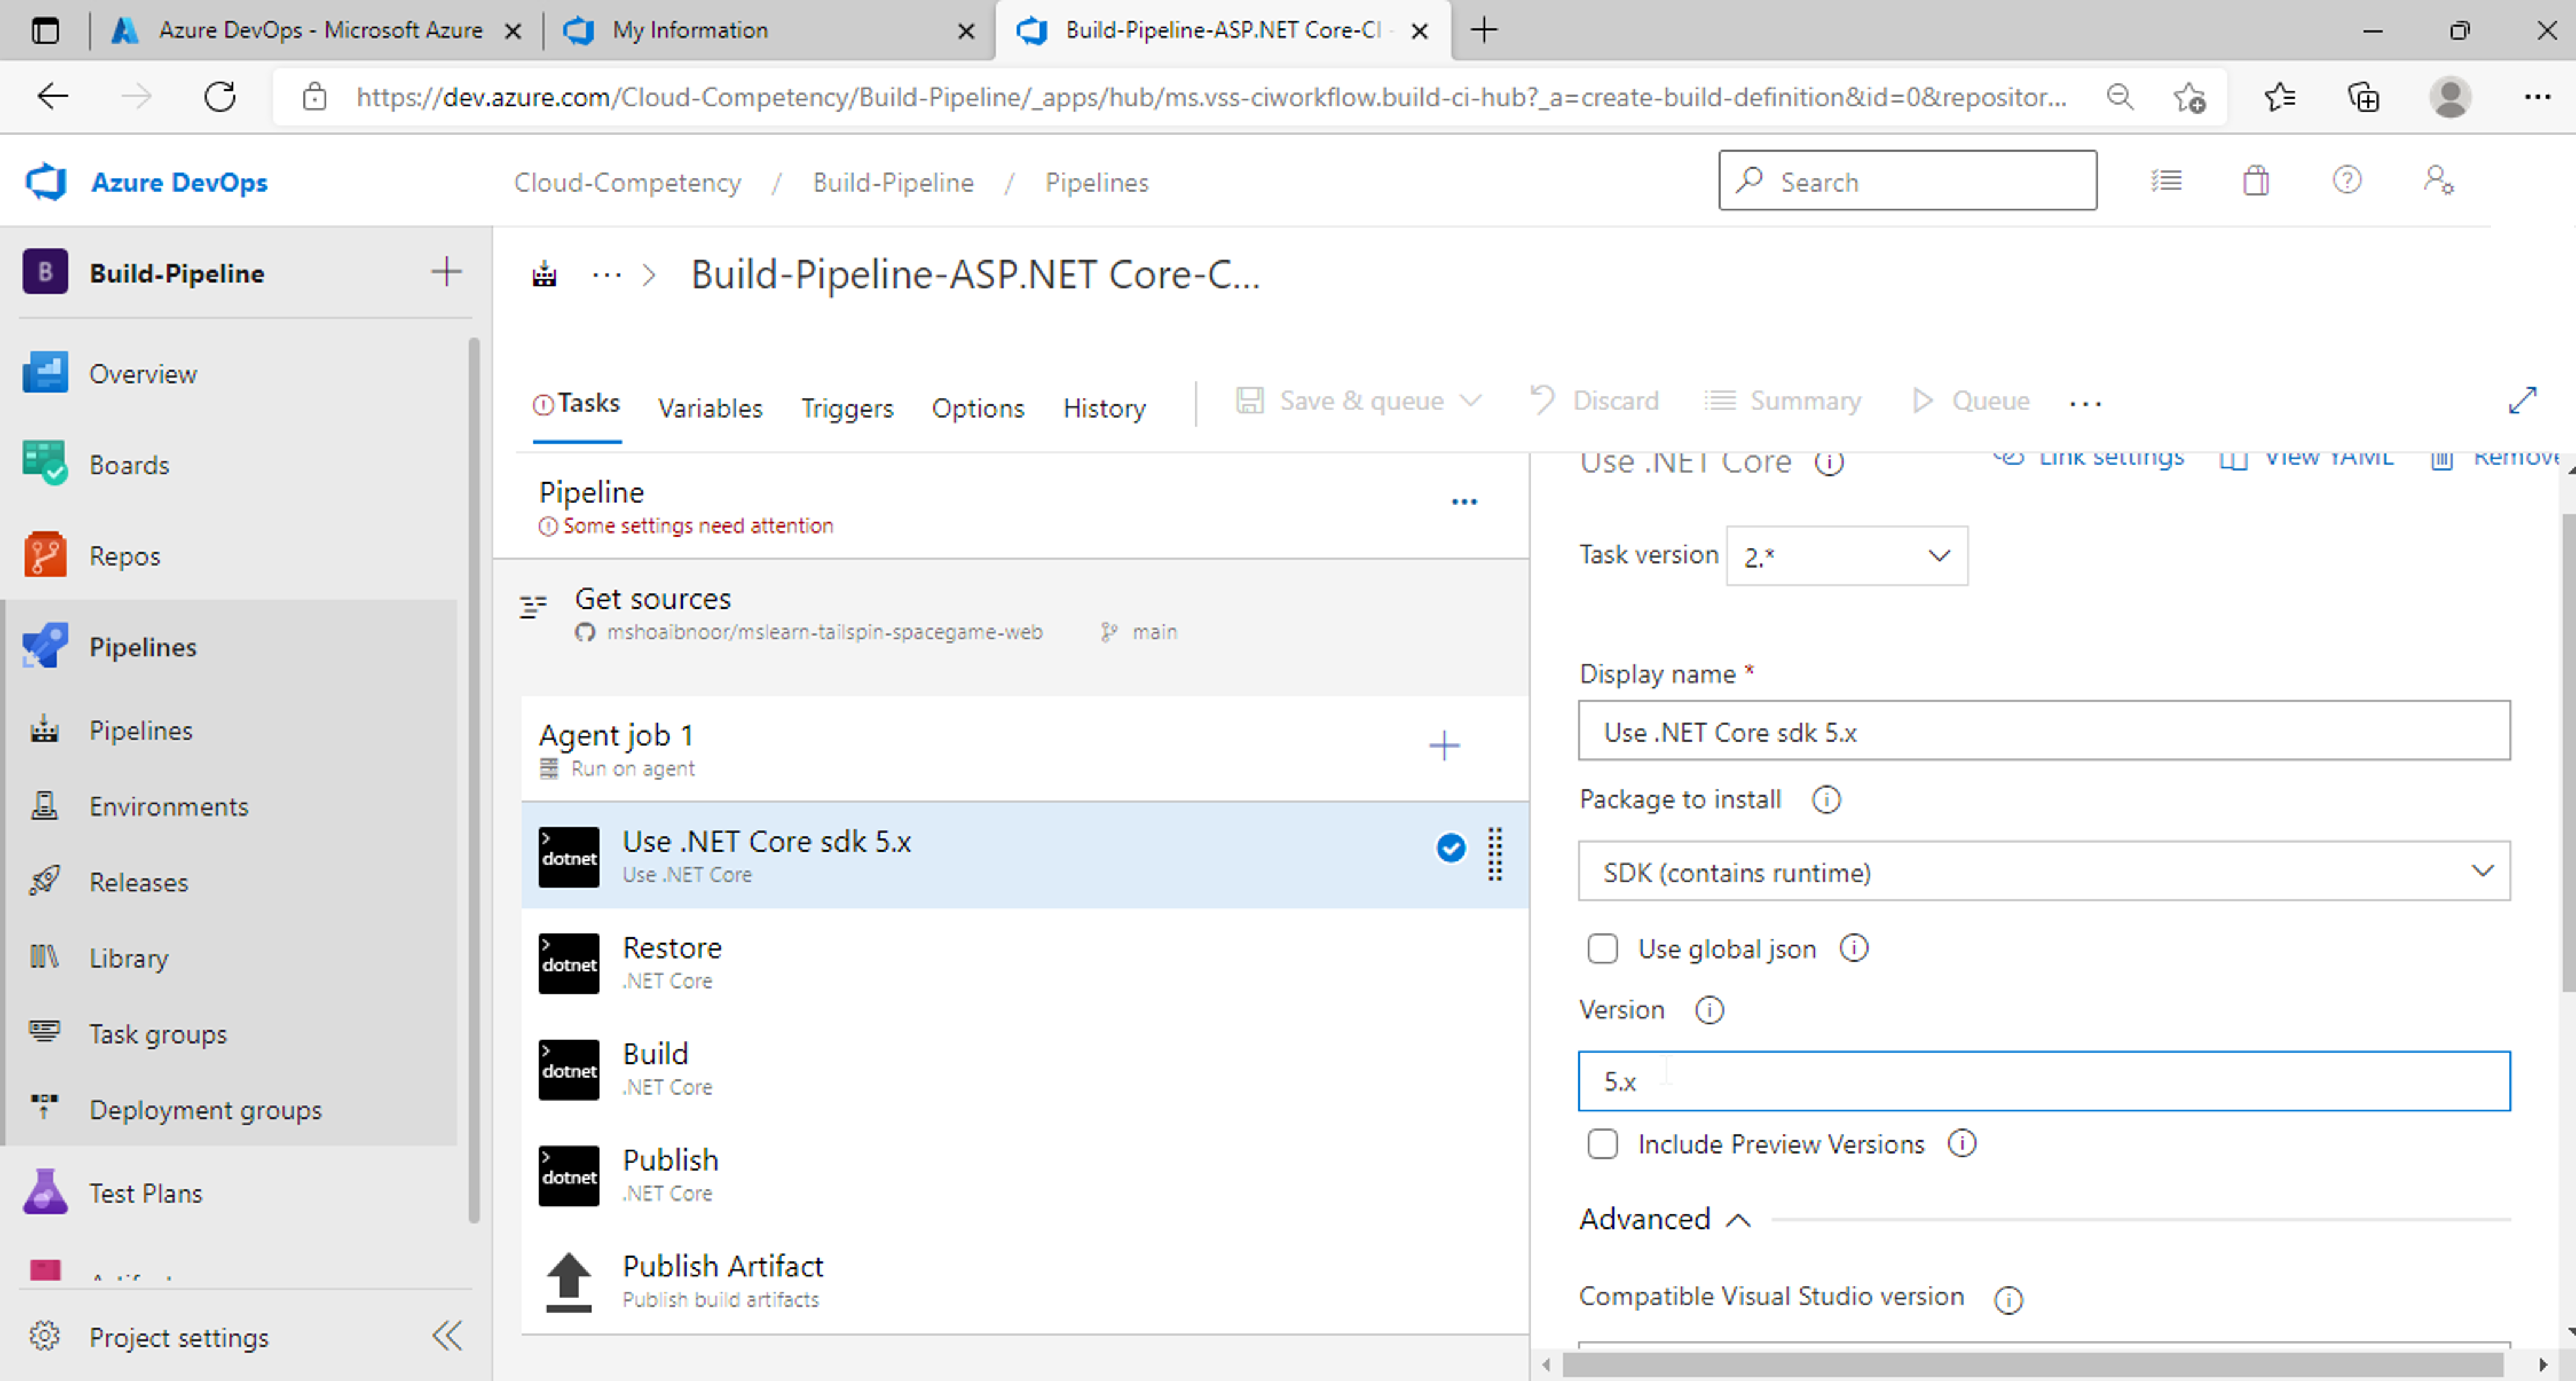
Add a task Use .Net Core before Restore task
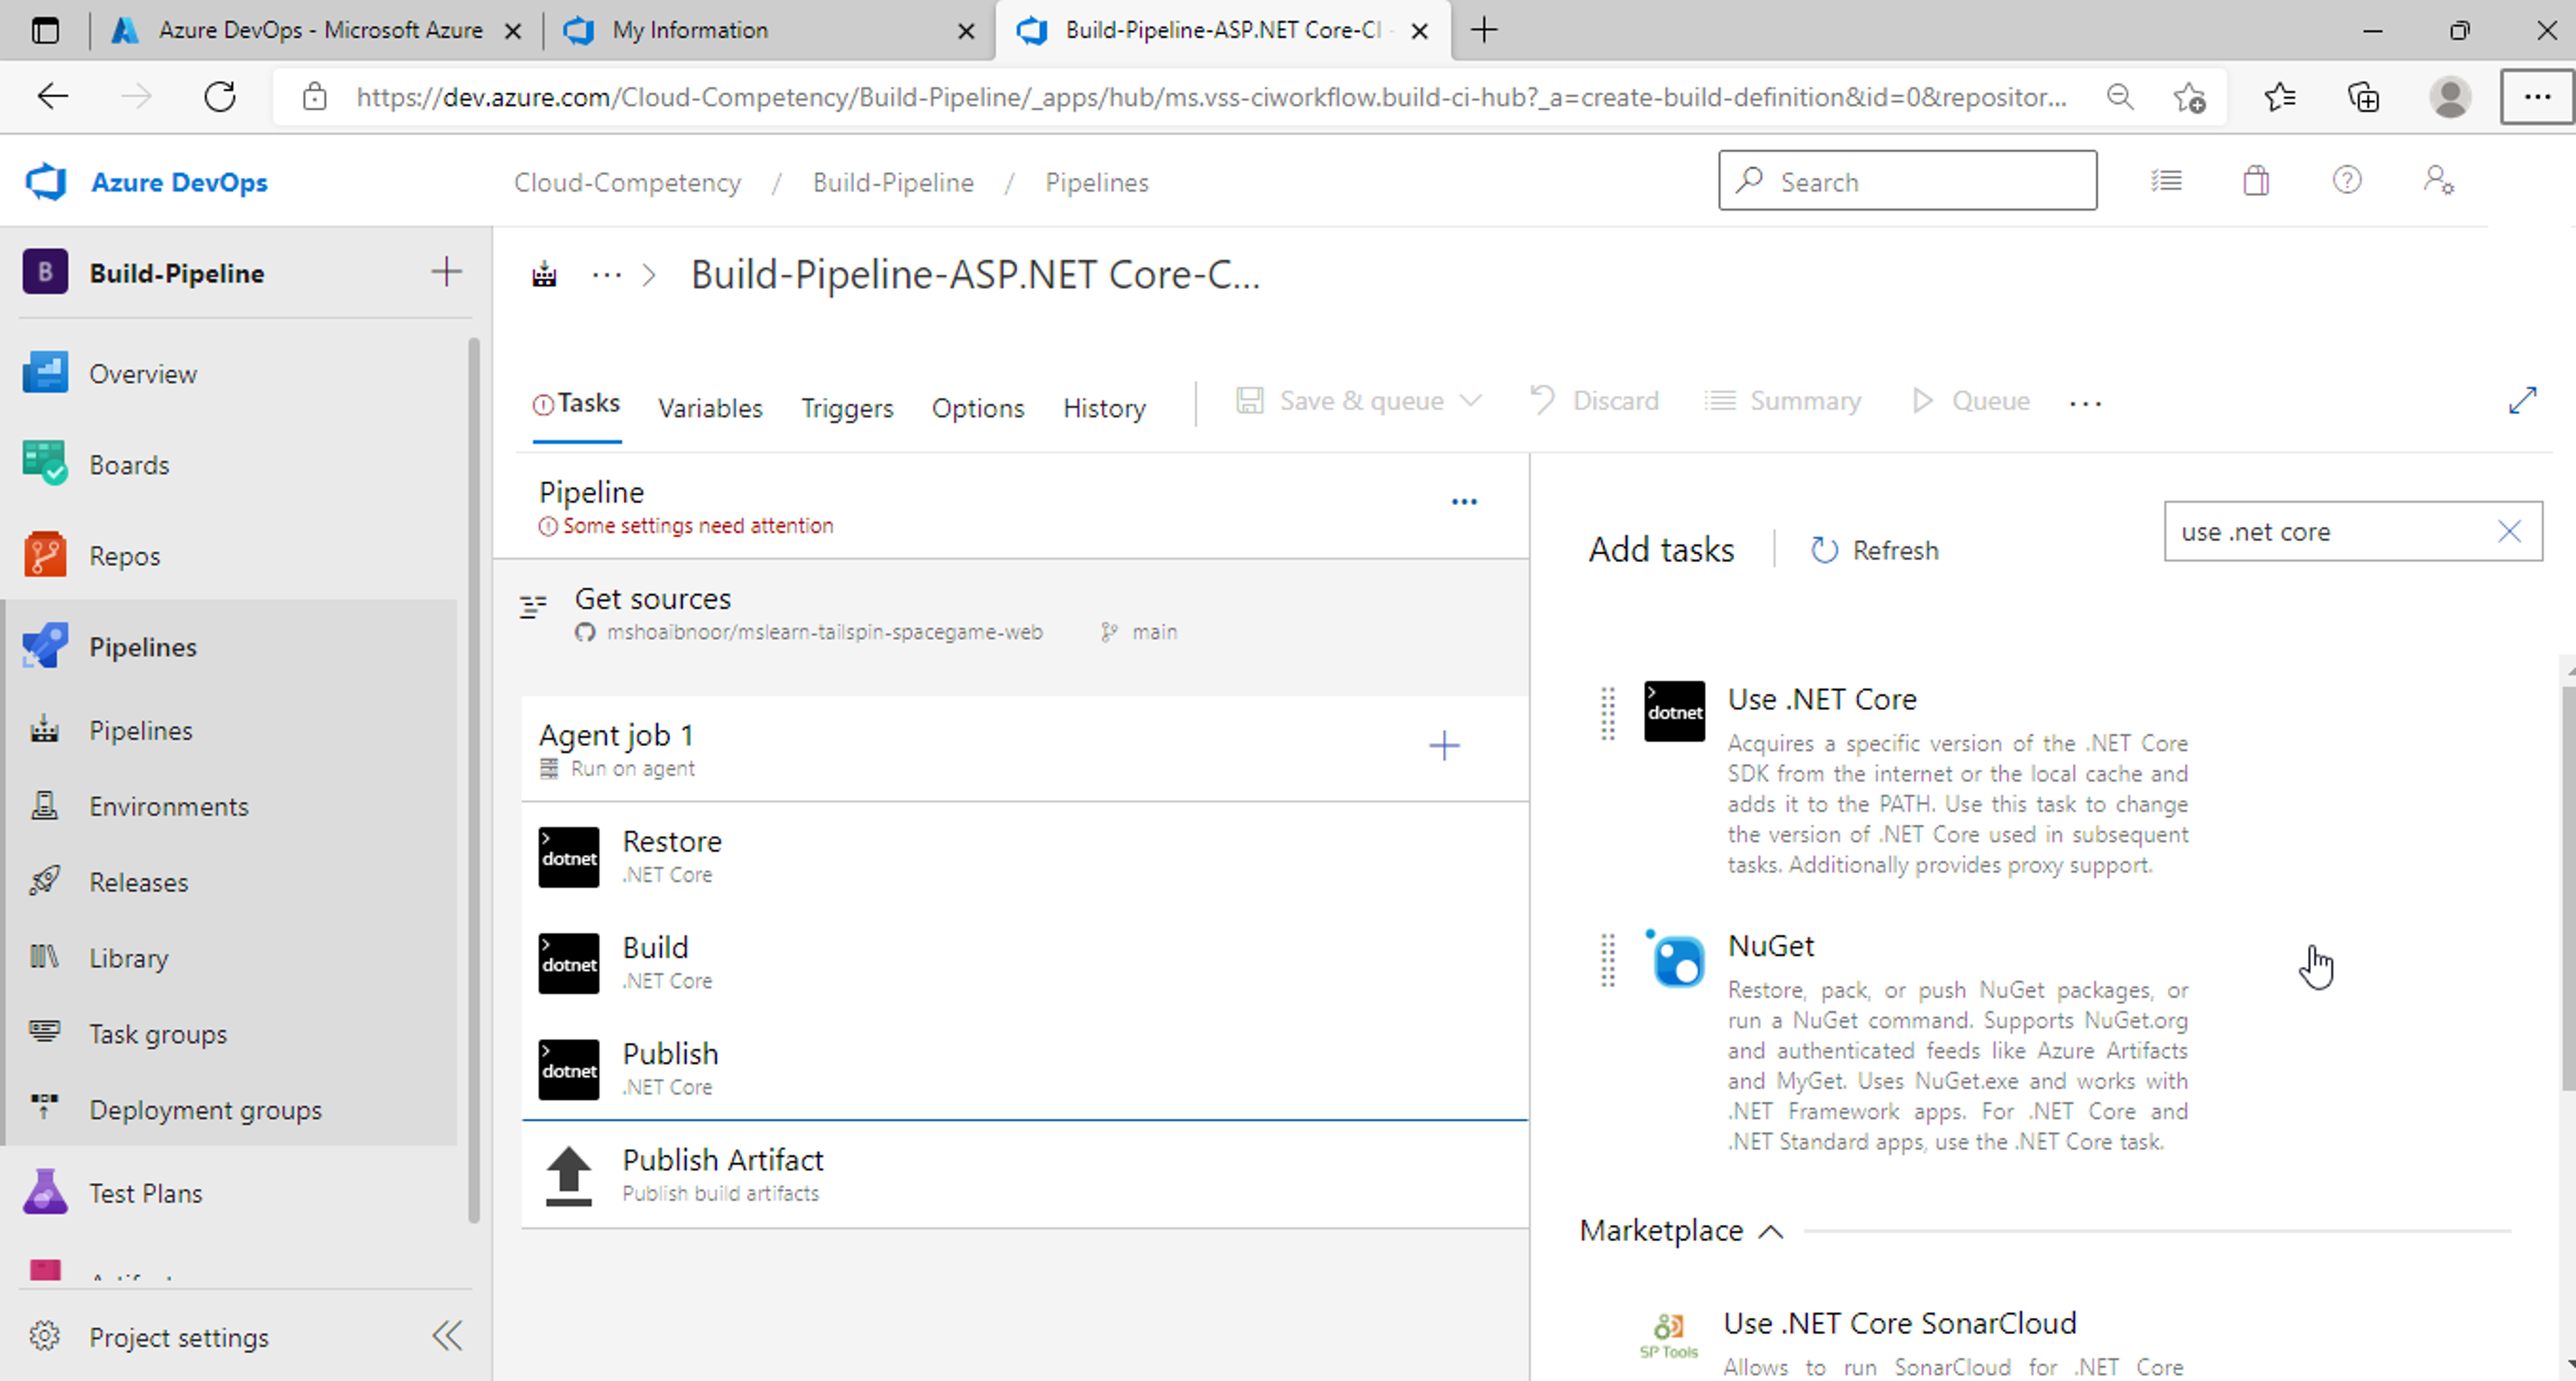
Select .Net Core version you used to develop your application
Click on Save & queue then click on Save and run
A pipeline will be triggered. We can check the steps and logs by clicking on the running pipeline.
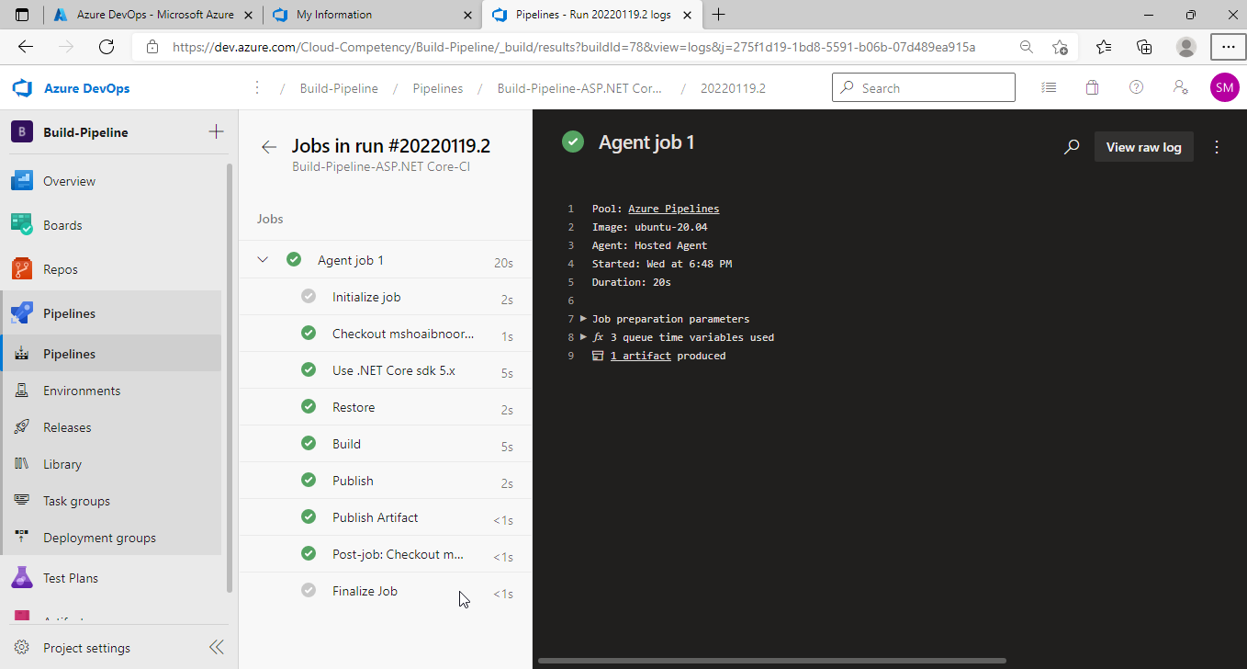
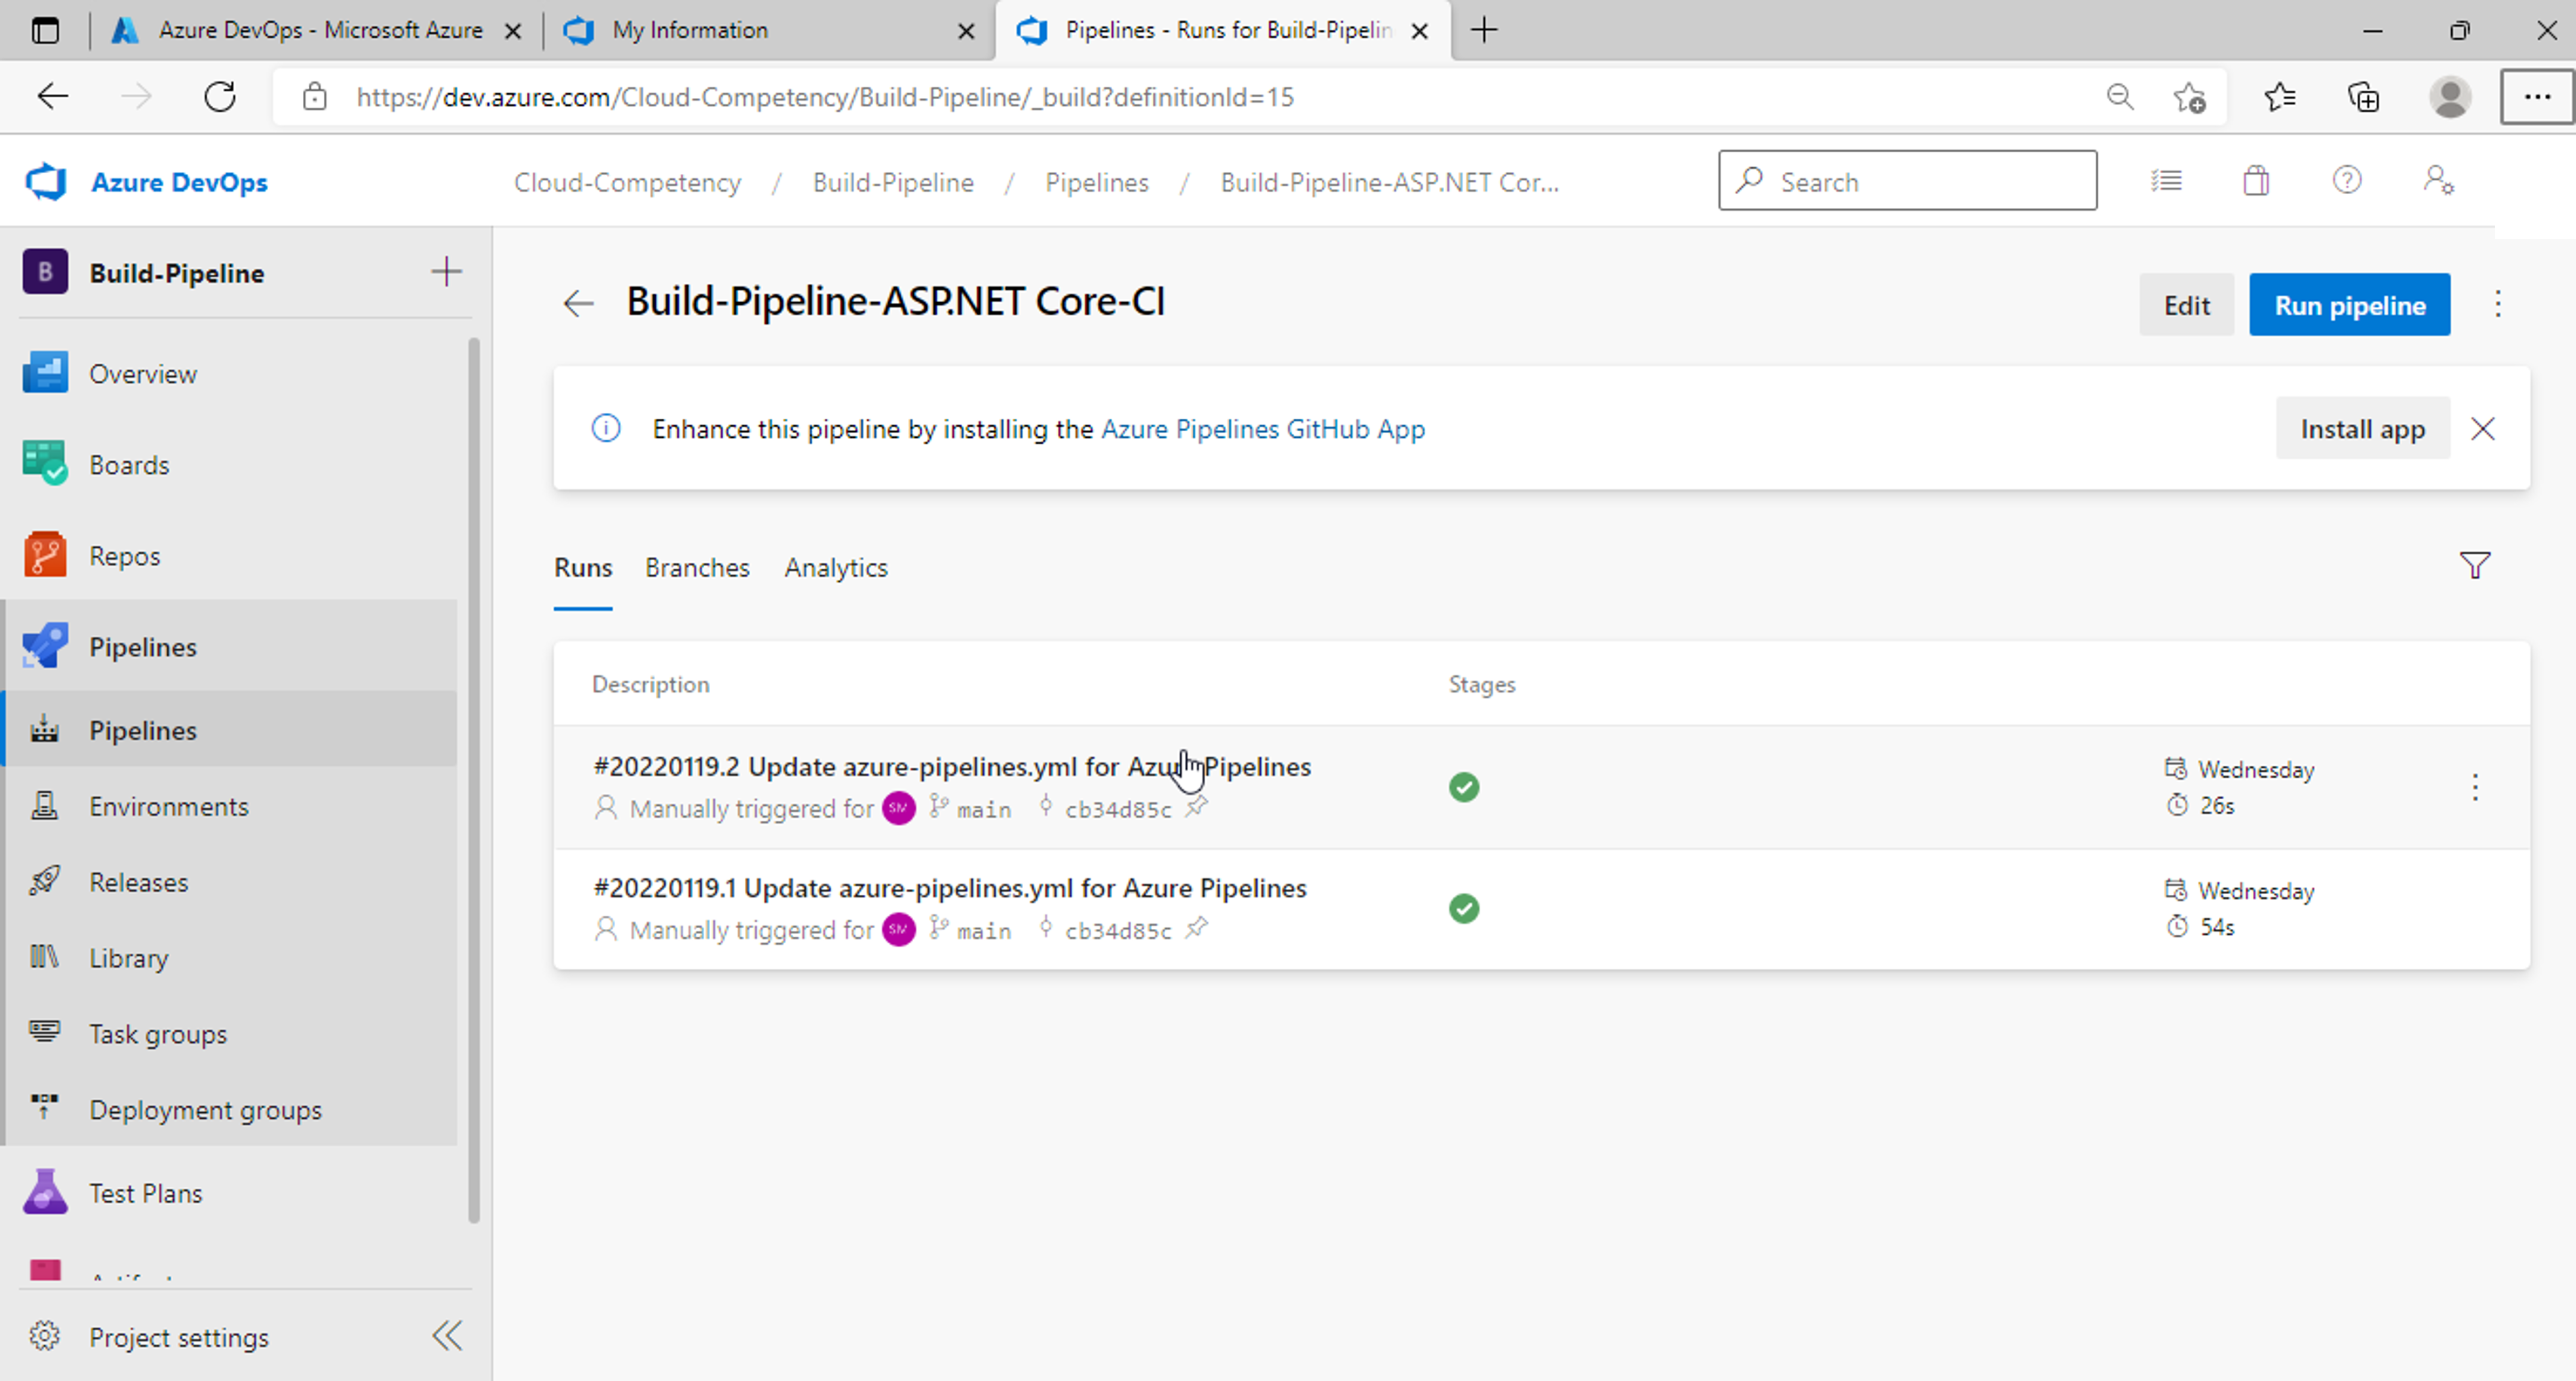
Click on the most recent run of your pipeline.
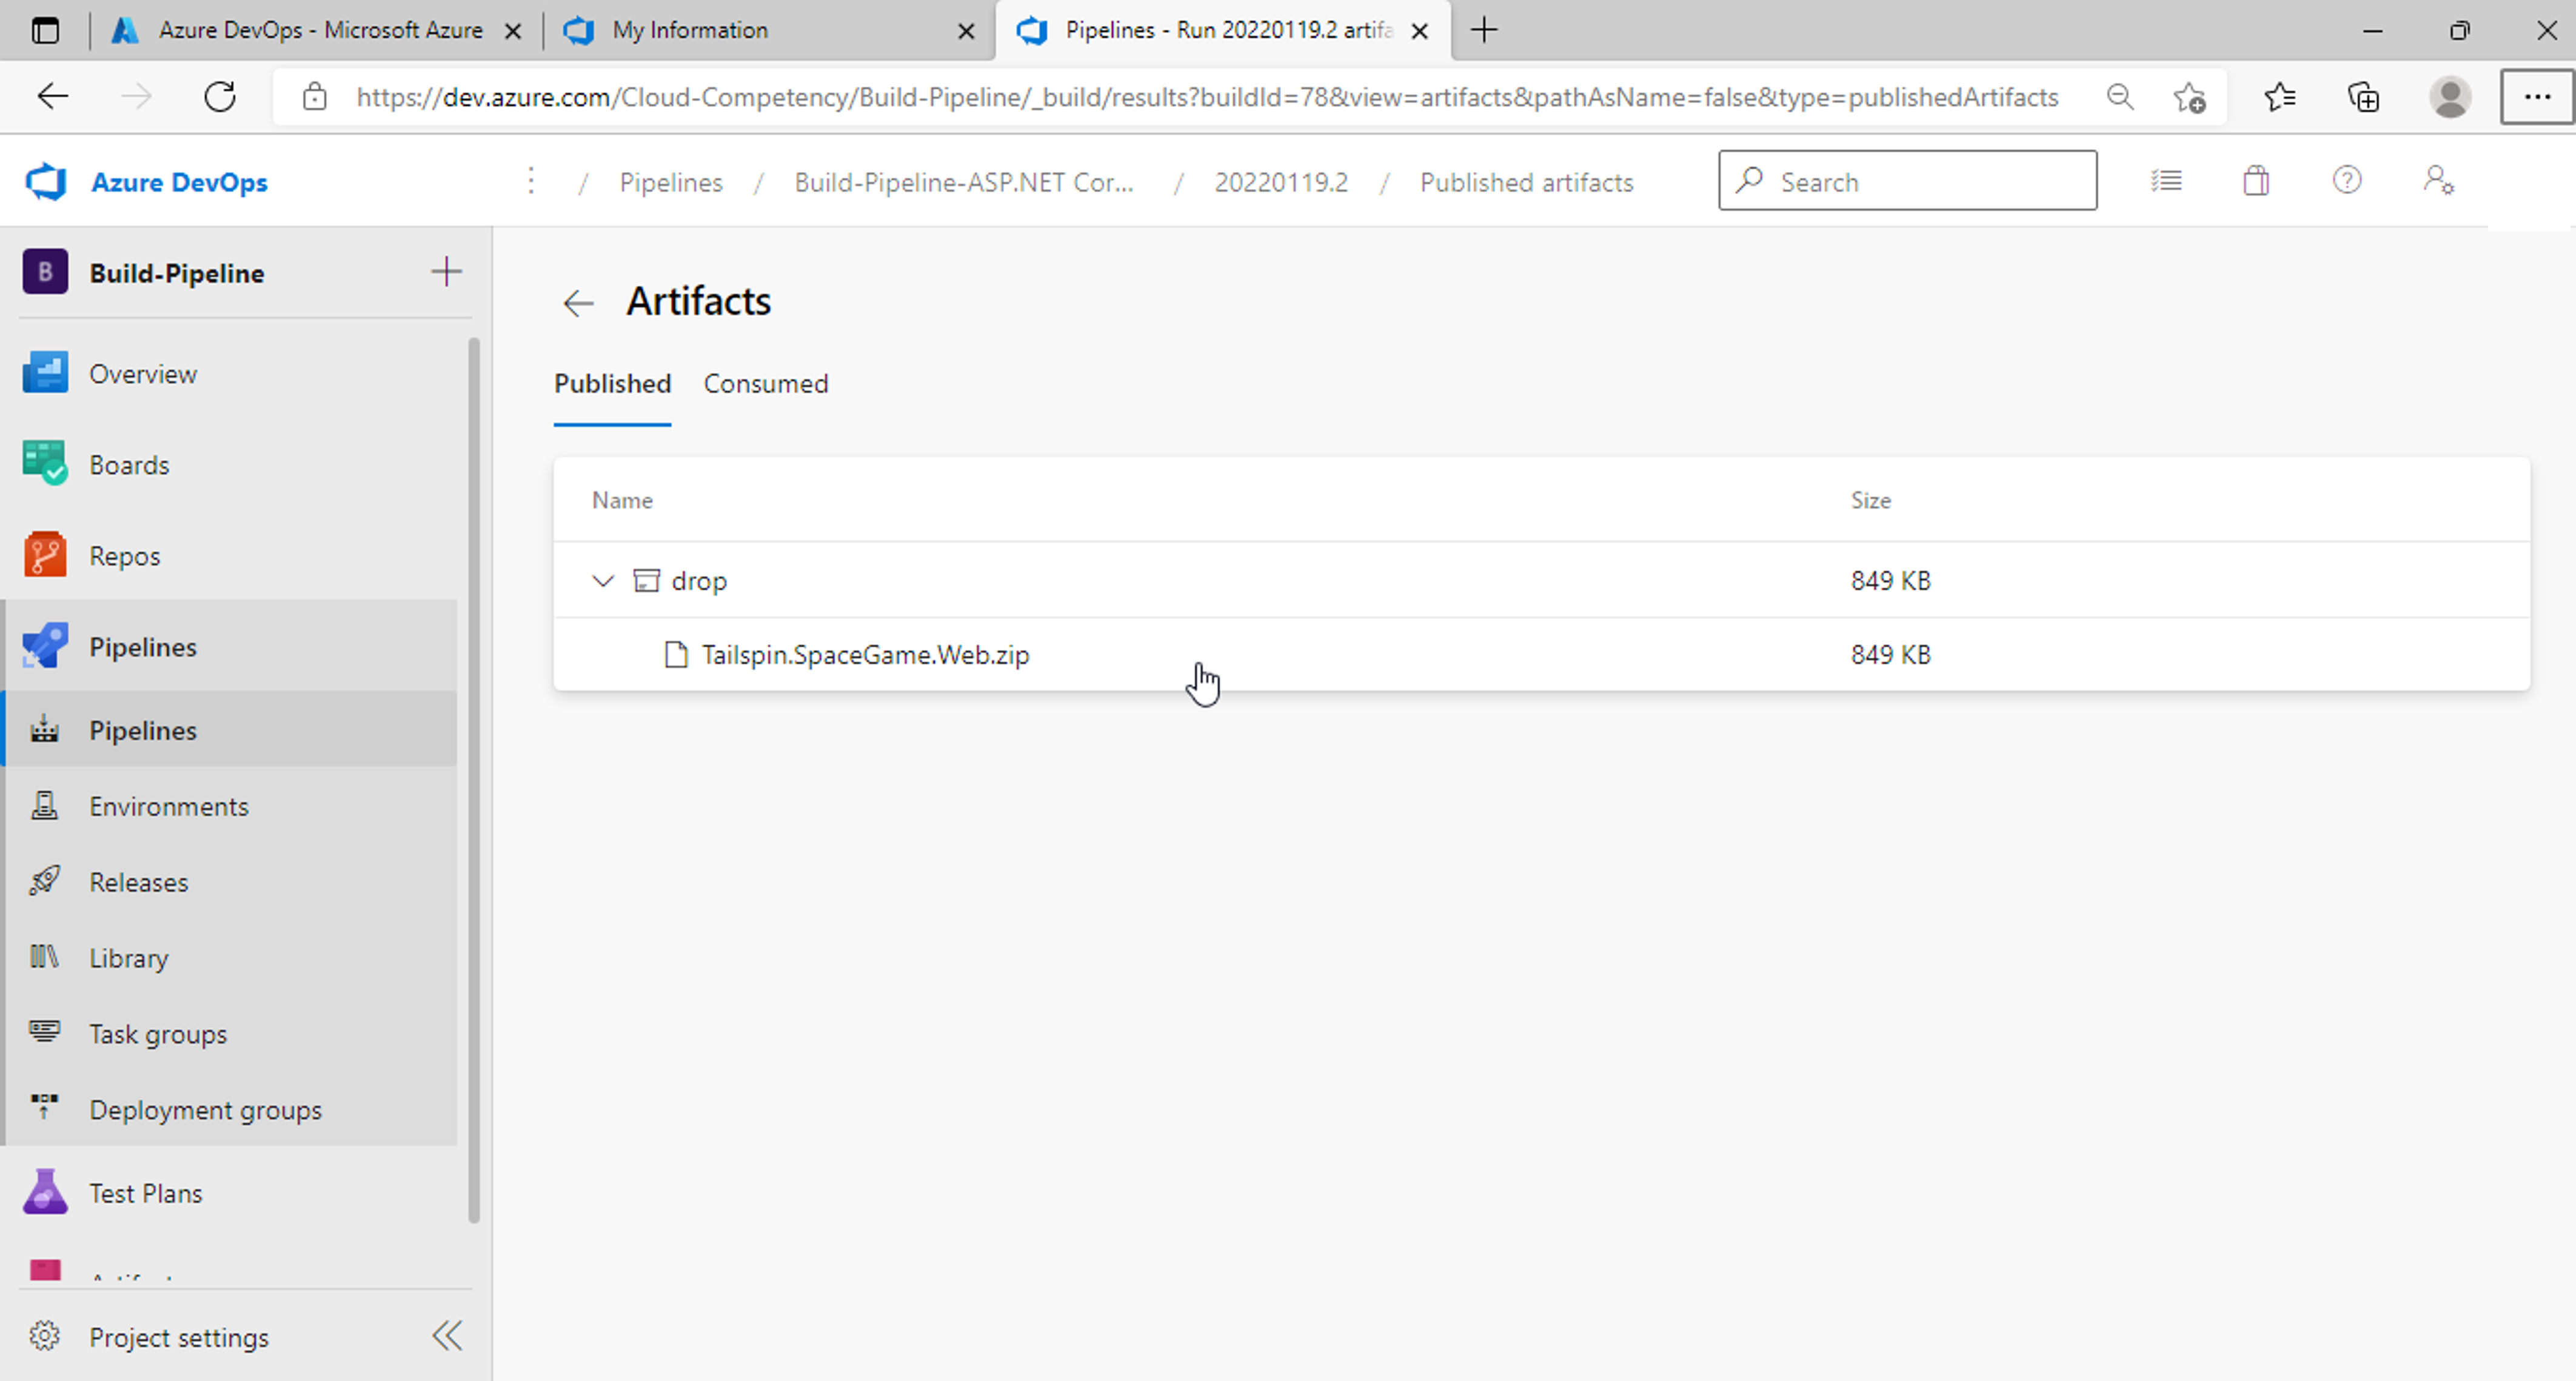
Click on published item to see the details of the published package.
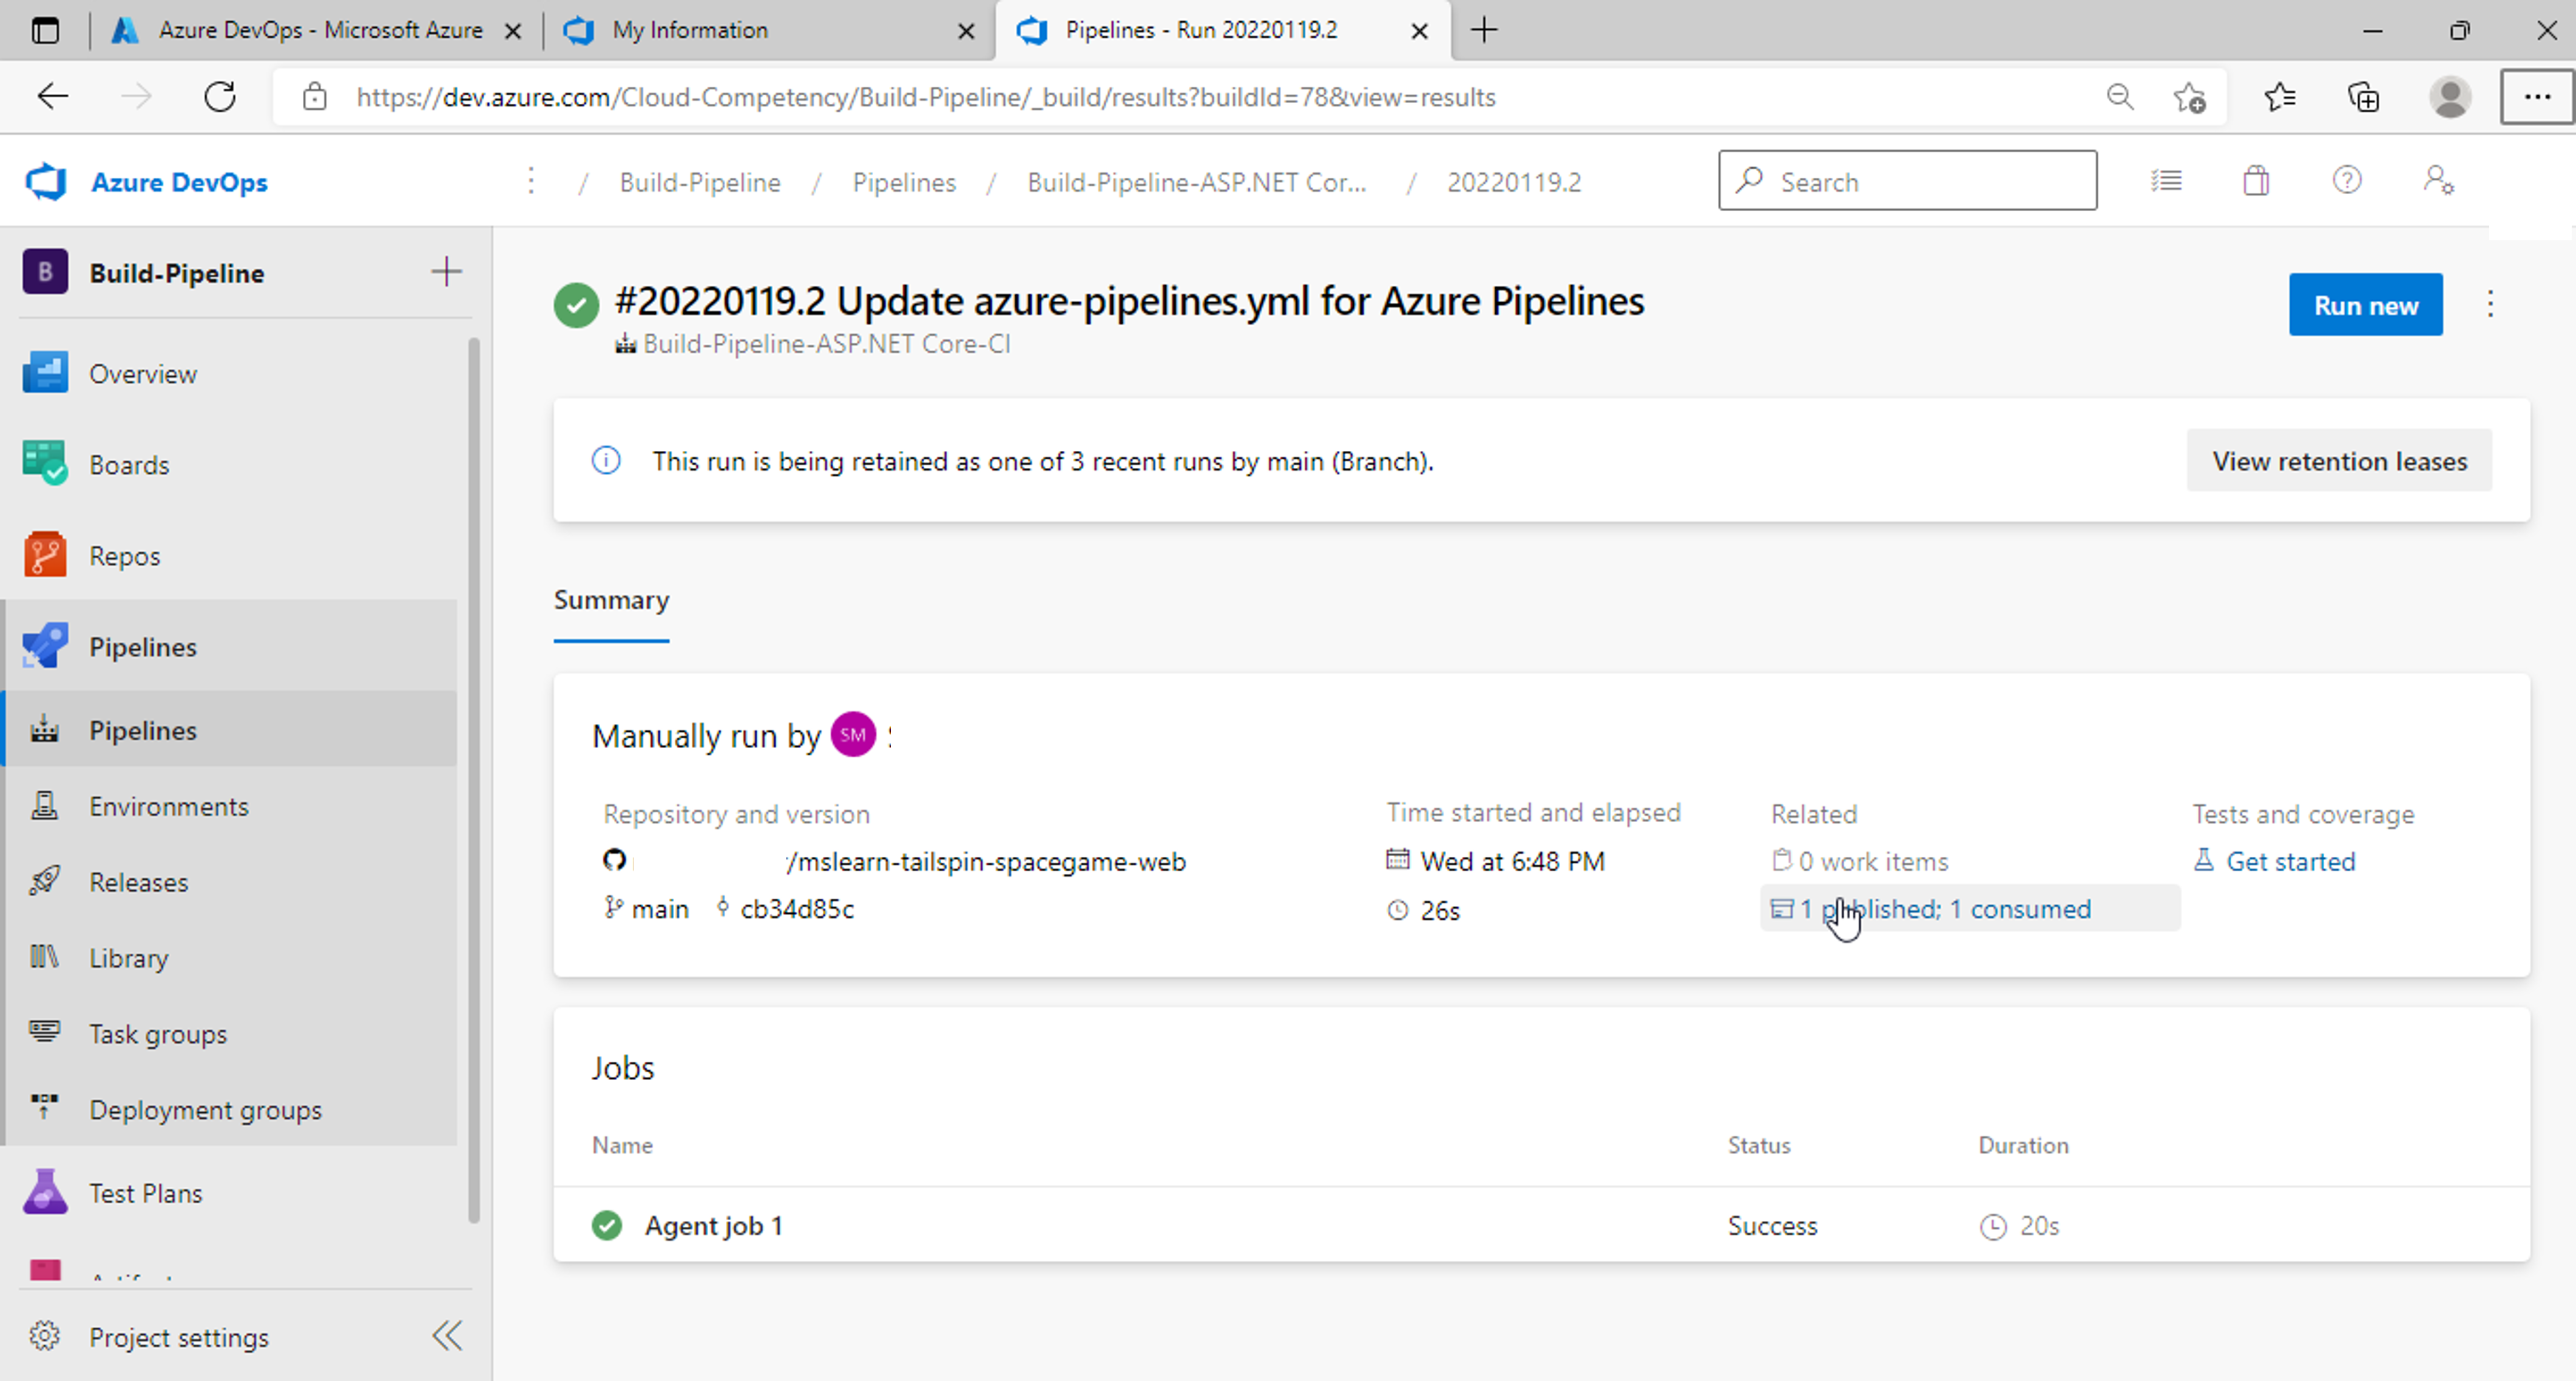
We can see build artifact below:
Leave a Comment
Your email address will not be published.